Digest: blue chamomile shortbread & rest

[Note that this was all dictated, so please excuse typos.] 

Stop. Rest. Pace.

This phrase has become my necessary daily practice as someone with severe Myalgic Encephalomyelitis (M.E.). 

I used to bike to the gym at 5 AM with three changes of clothes, my lunch, a pair of high heels. I’d then bike from the gym to work, where I’d often put in an exuberant 10-13 hour day, bike home, do yoga, make music or art, cook dinner. Then I would do it all again the next day. 

I did not stop. I barely rested. I did not need to pace. Or, I did not think I did. I would have frequent episodes of systemic pain, crashes of extreme fatigue, daily discoloration of my limbs, burning and swelling in my feet each night, dizziness, and other strange symptoms. After a decade plus of dismissal by many clinicians, I determined this was nothing to worry about. I would just keep going on, pushing through. Little did I know I was in a push-crash cycle invisible to those around me, and even to myself. 

My ability to keep momentum with the life I had been living changed dramatically in 2020 when a viral infection, then infection with COVID-19, then bacterial infection, all in close succession, caused a progressive decline in my health, and eventual diagnosis with M.E. 

At first, I refused to accept this diagnosis. I kept going, kept doing, without stopping, without resting, without pacing. Clinicians and loved ones even endorsed doing more…maybe increasing activity would lead to improvement... maybe I was just 'anxious' and doing more of what I loved would help me 'feel better.' 

Instead, I kept declining. The visual reality of my illness became undeniable with near constant red and purple hands and feet, pupils of different sizes, massively bloated abdomen, unwanted and rapid muscle wasting and weight loss.

The reality of M.E. and me with M.E. is that there is no cure, not even FDA approved treatments, little physician education and even less meaningful research.

My care team cares. Together we have tried everything, sometimes taking big risks to trial the most experimental potential approaches. We have put my body on the line to travel for out of state and out of pocket opinions. Nothing was systematically effective. Some trials made me significantly worse. Only 4% of people with M.E. recover, and most of those do so early in disease trajectory. We were now able to trace some of my mild symptoms back at least to 2010.

Soon, I became housebound, then largely couch/bed bound. This puts me in the 25% most severe of M.E. patients. But the vast majority, a mind boggling 75%, are entirely unable to work.

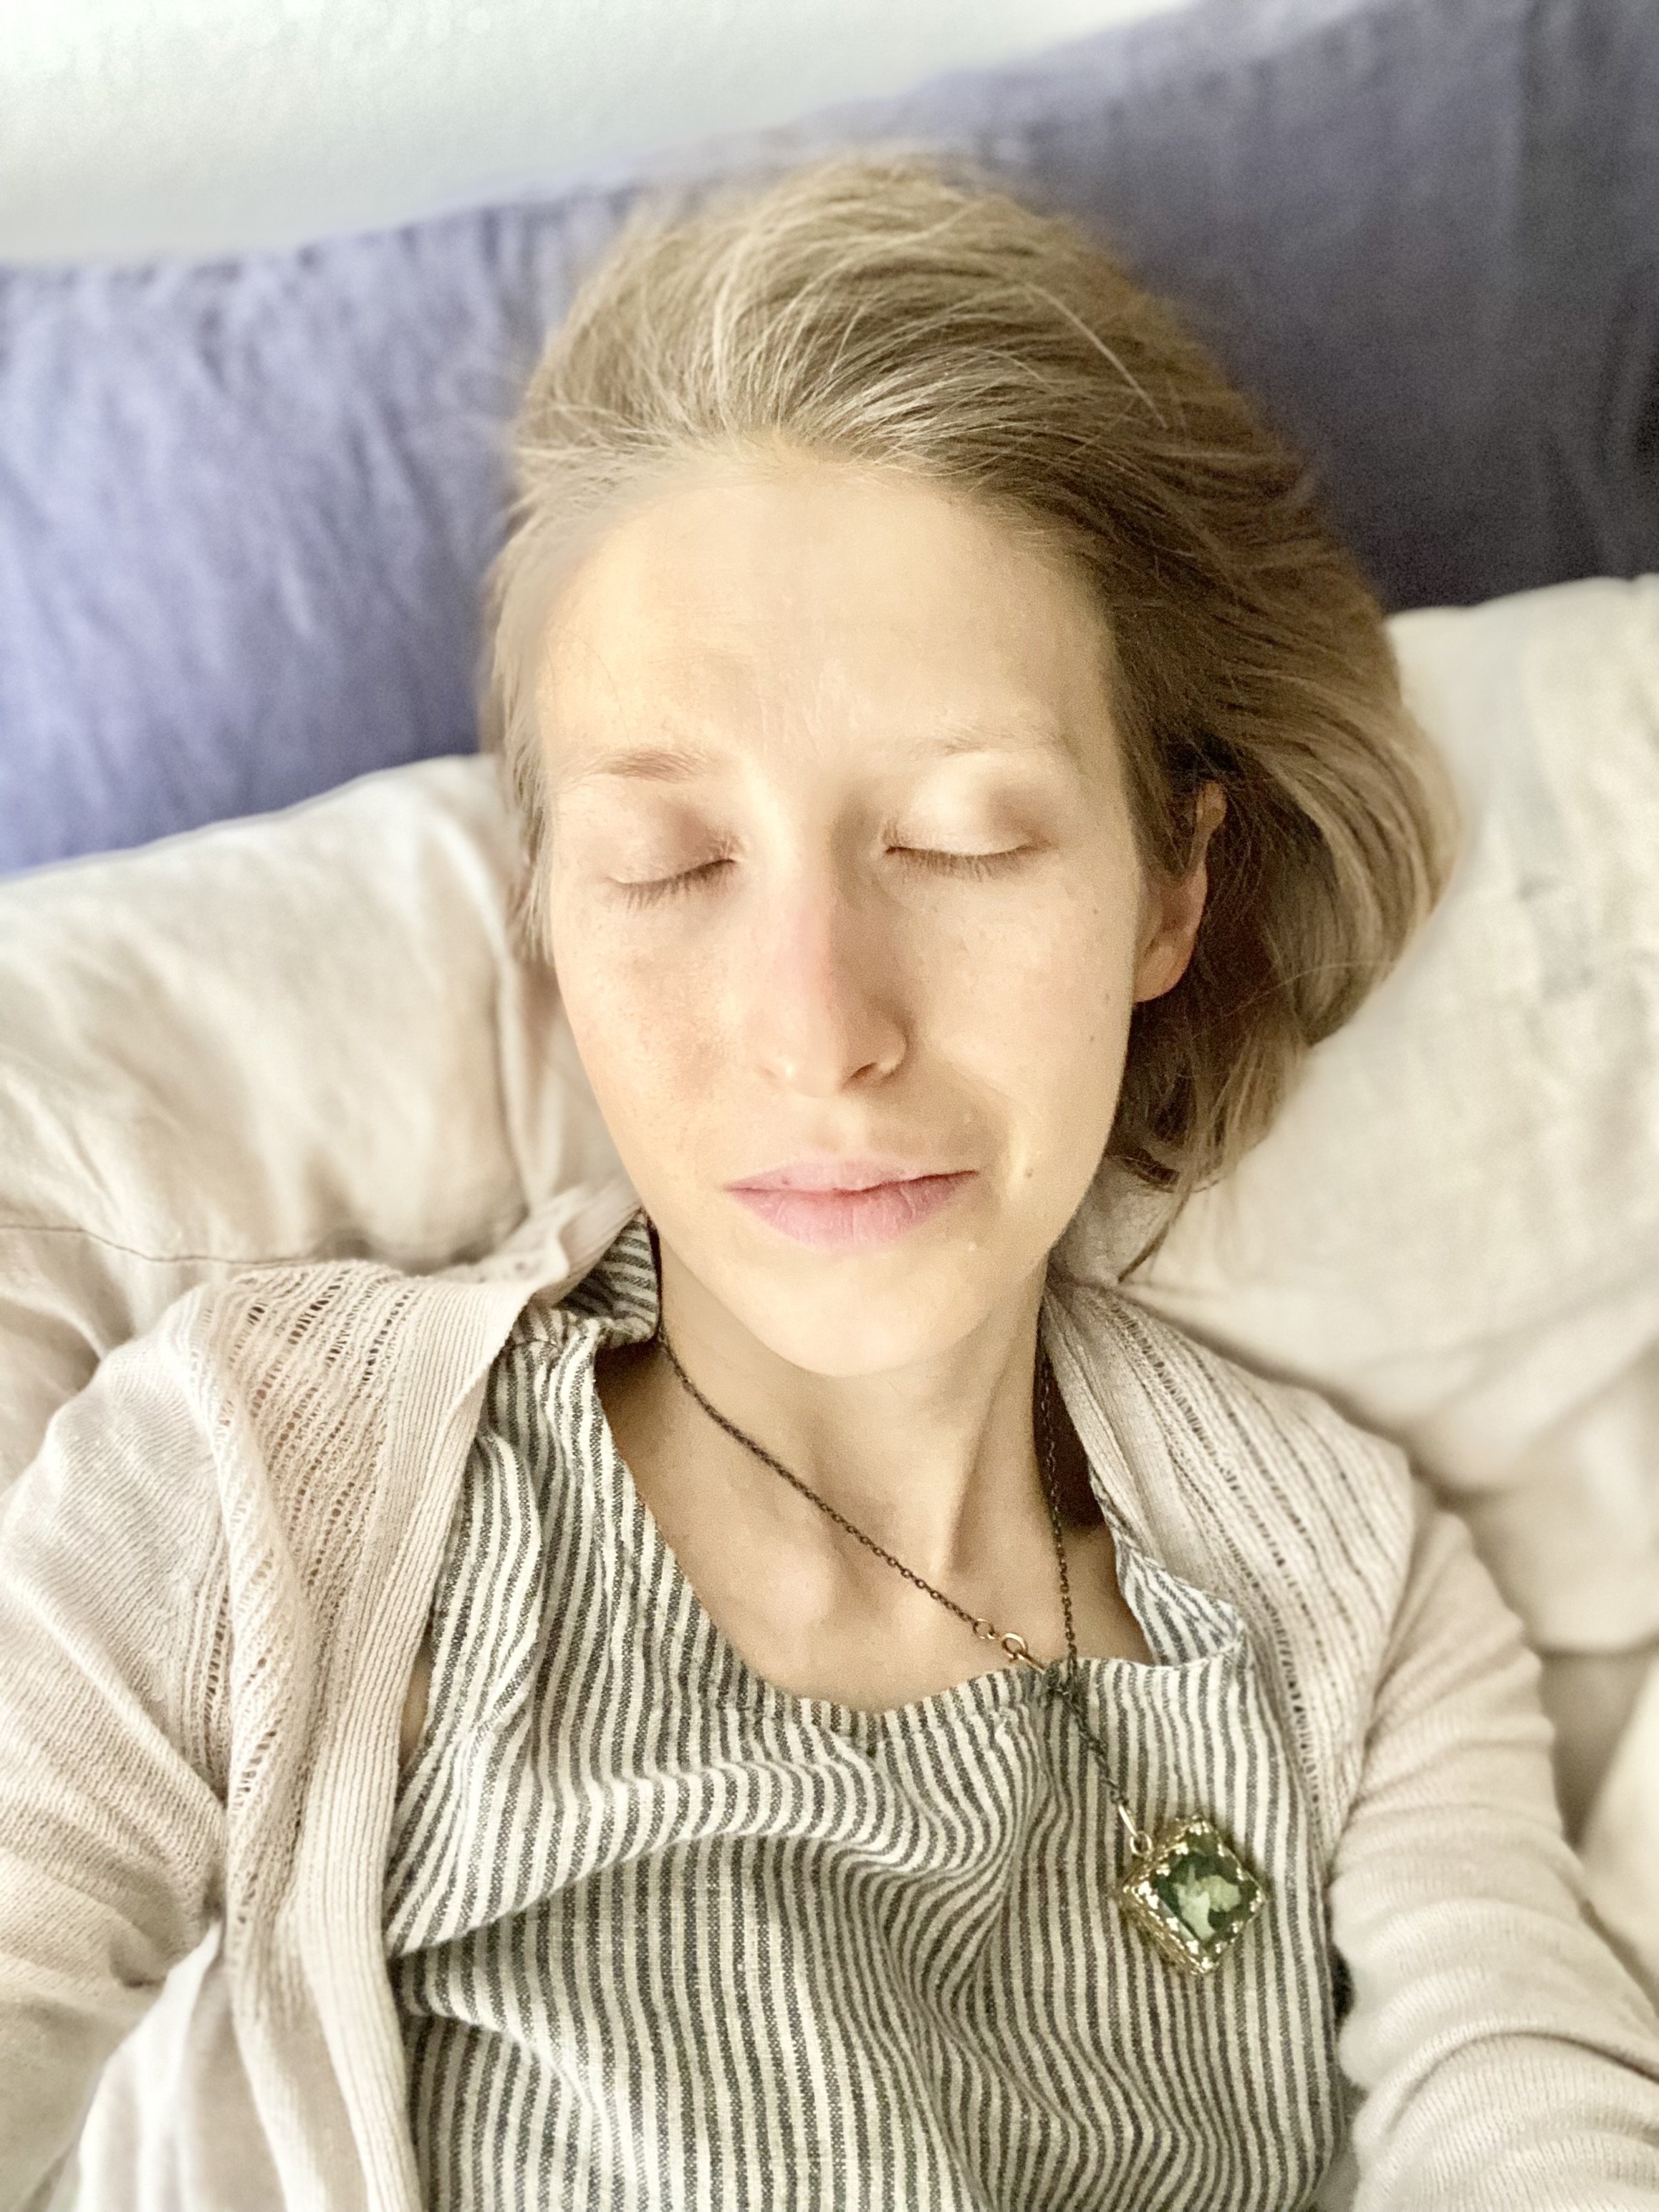
Now, following exertion of any kind (cognitive, emotional, physical), I experience episodes of profound worsening of my baseline constant symptoms. This worsening is called Post Exertional Malaise. Each M.E. patient has different experiences of PEM. And each episode can be quite unique; the unpredictability itself a challenge. In PEM I have the feeling my body is paralyzed and I am locked out from my brain. My vision blurs, ears ring, my body feels tied to a cement block. My head becomes too heavy to hold up. My skull feels too small for my throbbing brain. My neck becomes palpably swollen and hot. My lungs feel unable to gather oxygen

I am a body on fire: every nerve fiber raging. And yet, I feel unable to move, and sometimes even speak. 

Doing anything: drinking water, watching or reading, interacting with someone, even to tell them what I need, can feel impossible in these moments. And when these episodes recede, which can take days or weeks, I still experience symptoms in each moment. And each episode has the potential to permanently cause a worsening of my baseline tolerance for exertion. 

Now every action I take requires evaluation: how will this impact my body? how much energy does it take? This includes what might seem insignificant: reading or watching anything, talking on the phone, resting in the bright sun, lifting a piece of kitchen equipment, hearing the loud sound of a coffee grinder or blender... 

Now I must Stop. Rest. Pace

It’s not a choice. My body enforces it. Sometimes if I don’t, I have a ‘sleep attack’ — becoming suddenly unable to keep my eyes open.

But I do try my best to do what I must to survive, to prevent worsening. I do try to Stop. Rest. Pace.

First before I do anything, I stop. I try to visualize  the action and its impact. I imagine how to cut out excess energy expenditure (physical, emotional, cognitive), and I evaluate what kind of rest I might need before and after. Then, after I do something, I rest, often in a 1:1 or 2:1 ratio of rest to activity, both in time and intensity. This is how I pace. 

Note: Lots of great resources about pacing exist. My favorites are the ones from the Bateman Horne Center. And ME & More’s quick guide

I don't always get it right. But the reality of M.E. is that signs of overexertion can take as long as 72 hours to appear as PEM

What I have learned from my years of pushing through is that rest is essential. Now rest is nonnegotiable. My body enforces it even when I have not appropriately done so. 

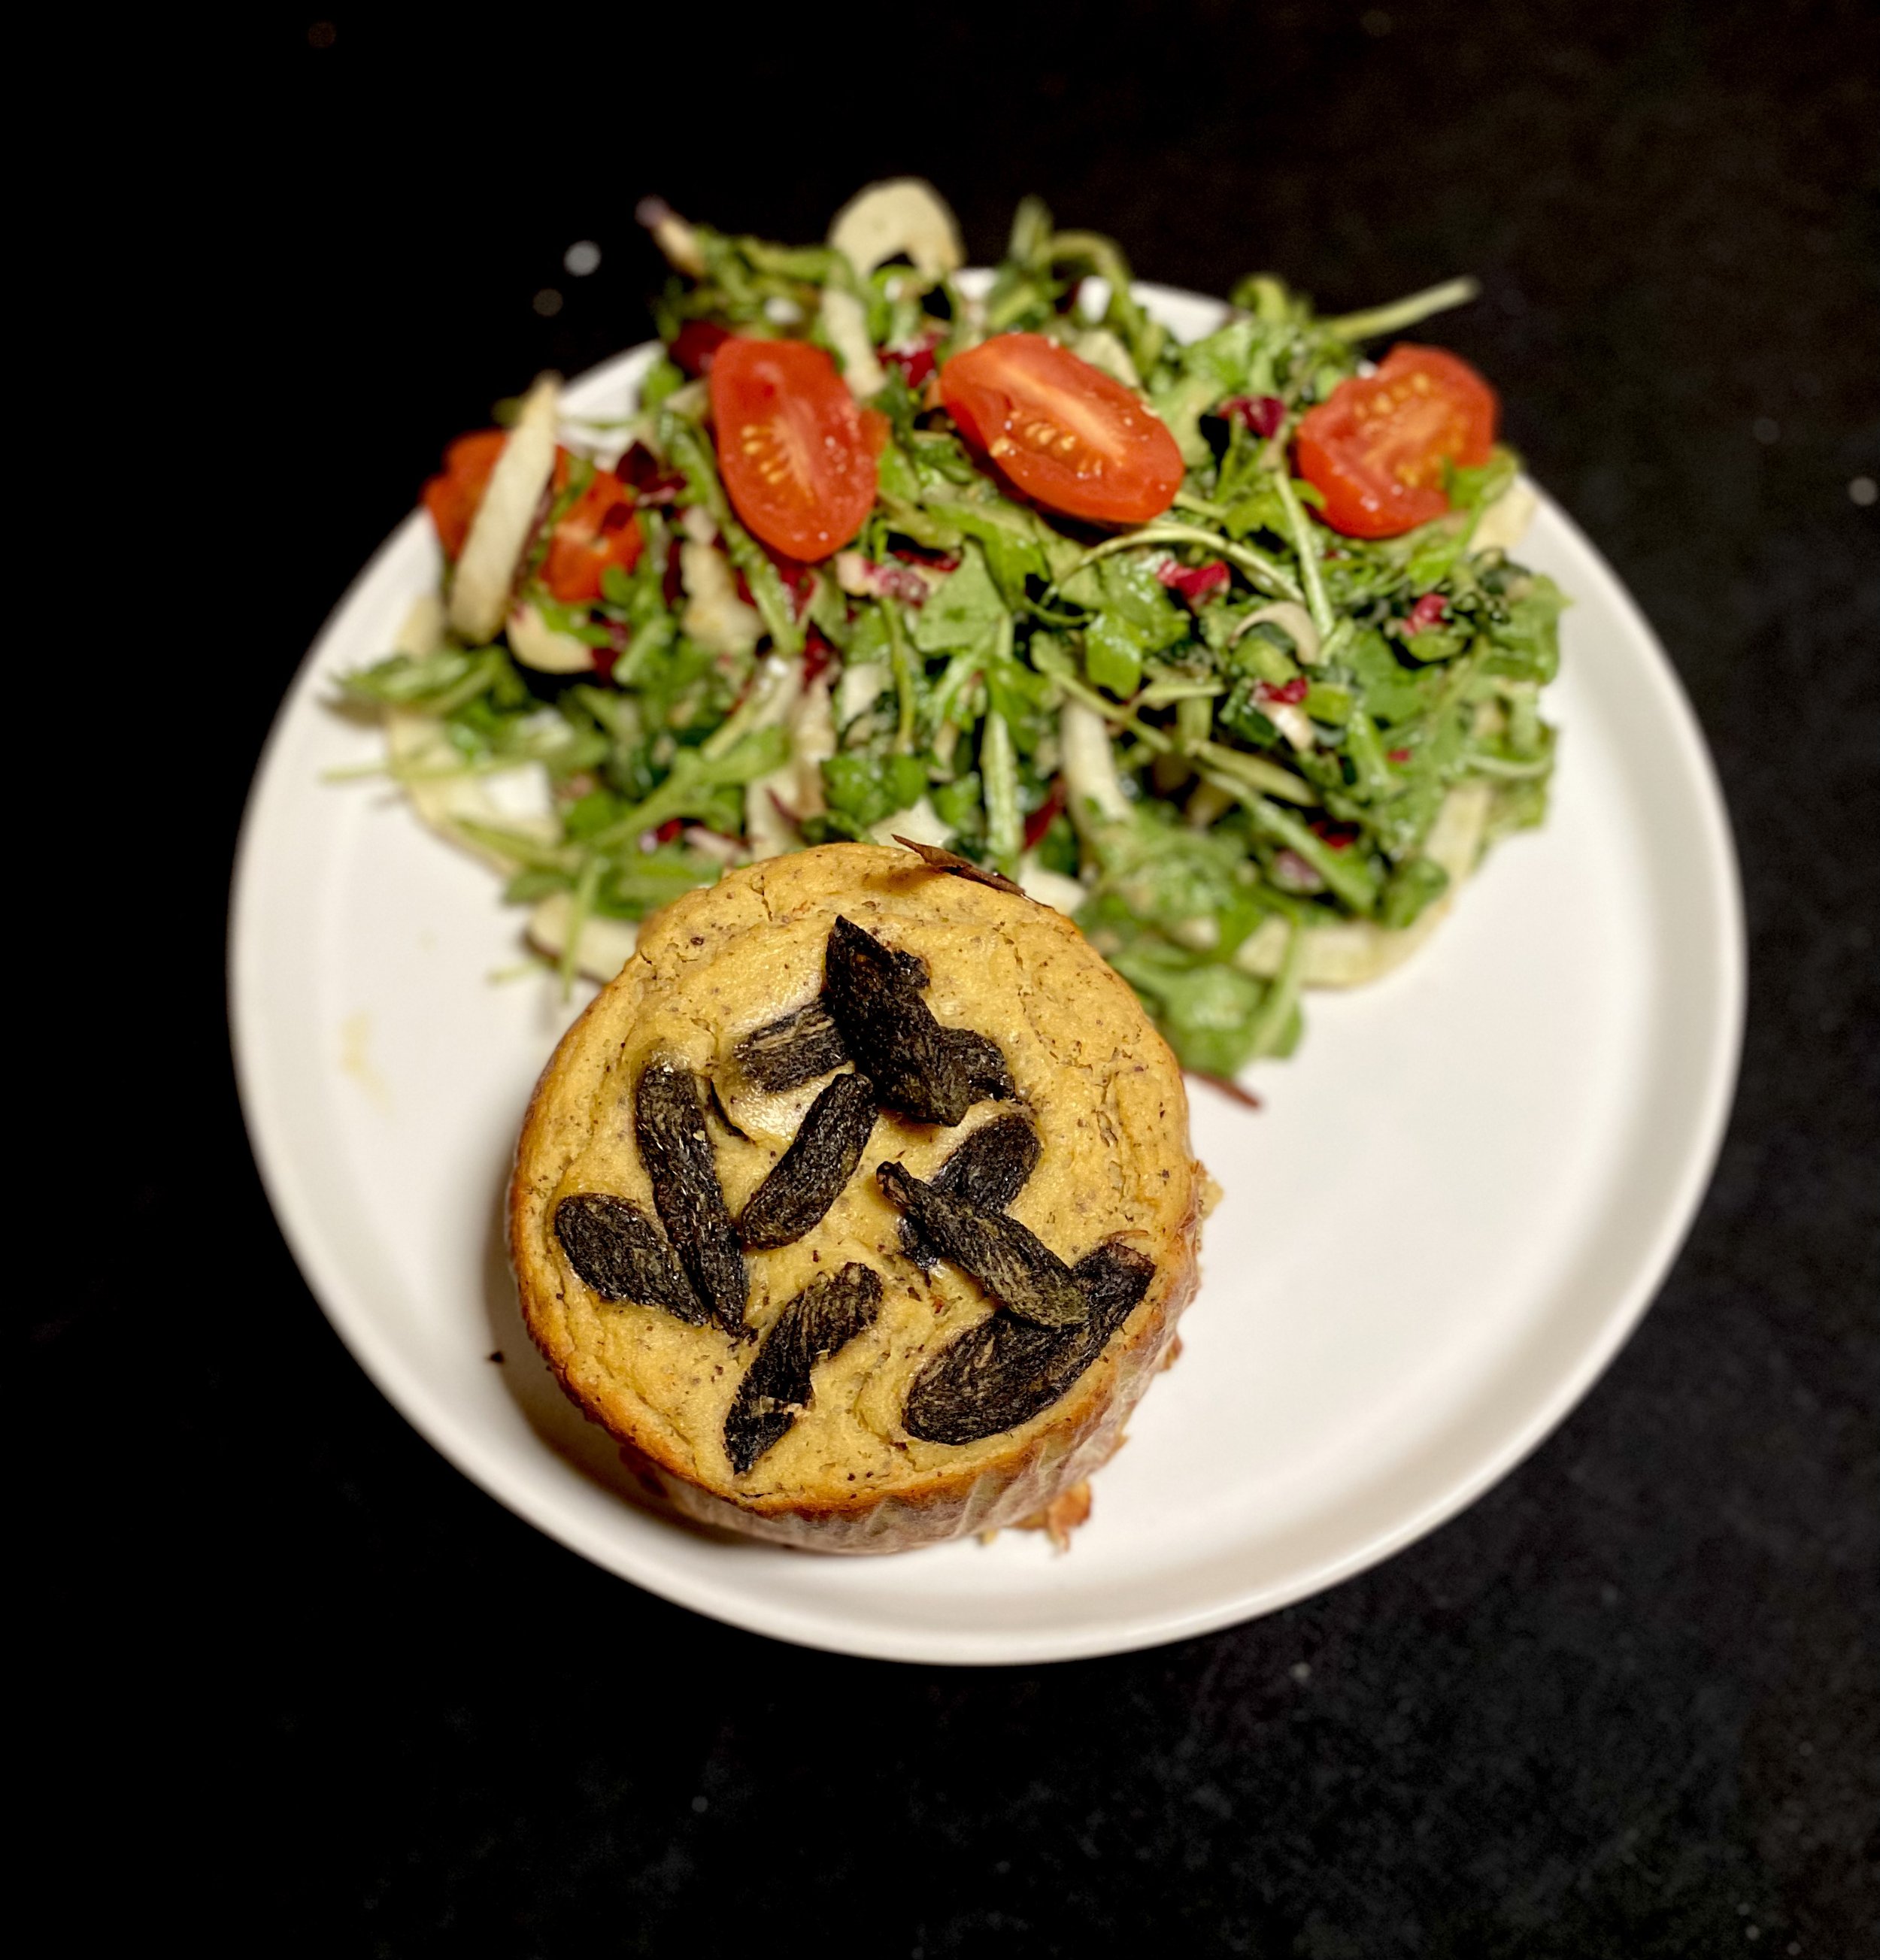
This recipe is inspired by the need we all have for rest in our lives. Our fast-paced, productivity-driven world tells us that our worth is not in being, but in doing. Rest offers a space to truly be. It is a powerful form of resistance to the power structures that push us beyond sustainable limits. 

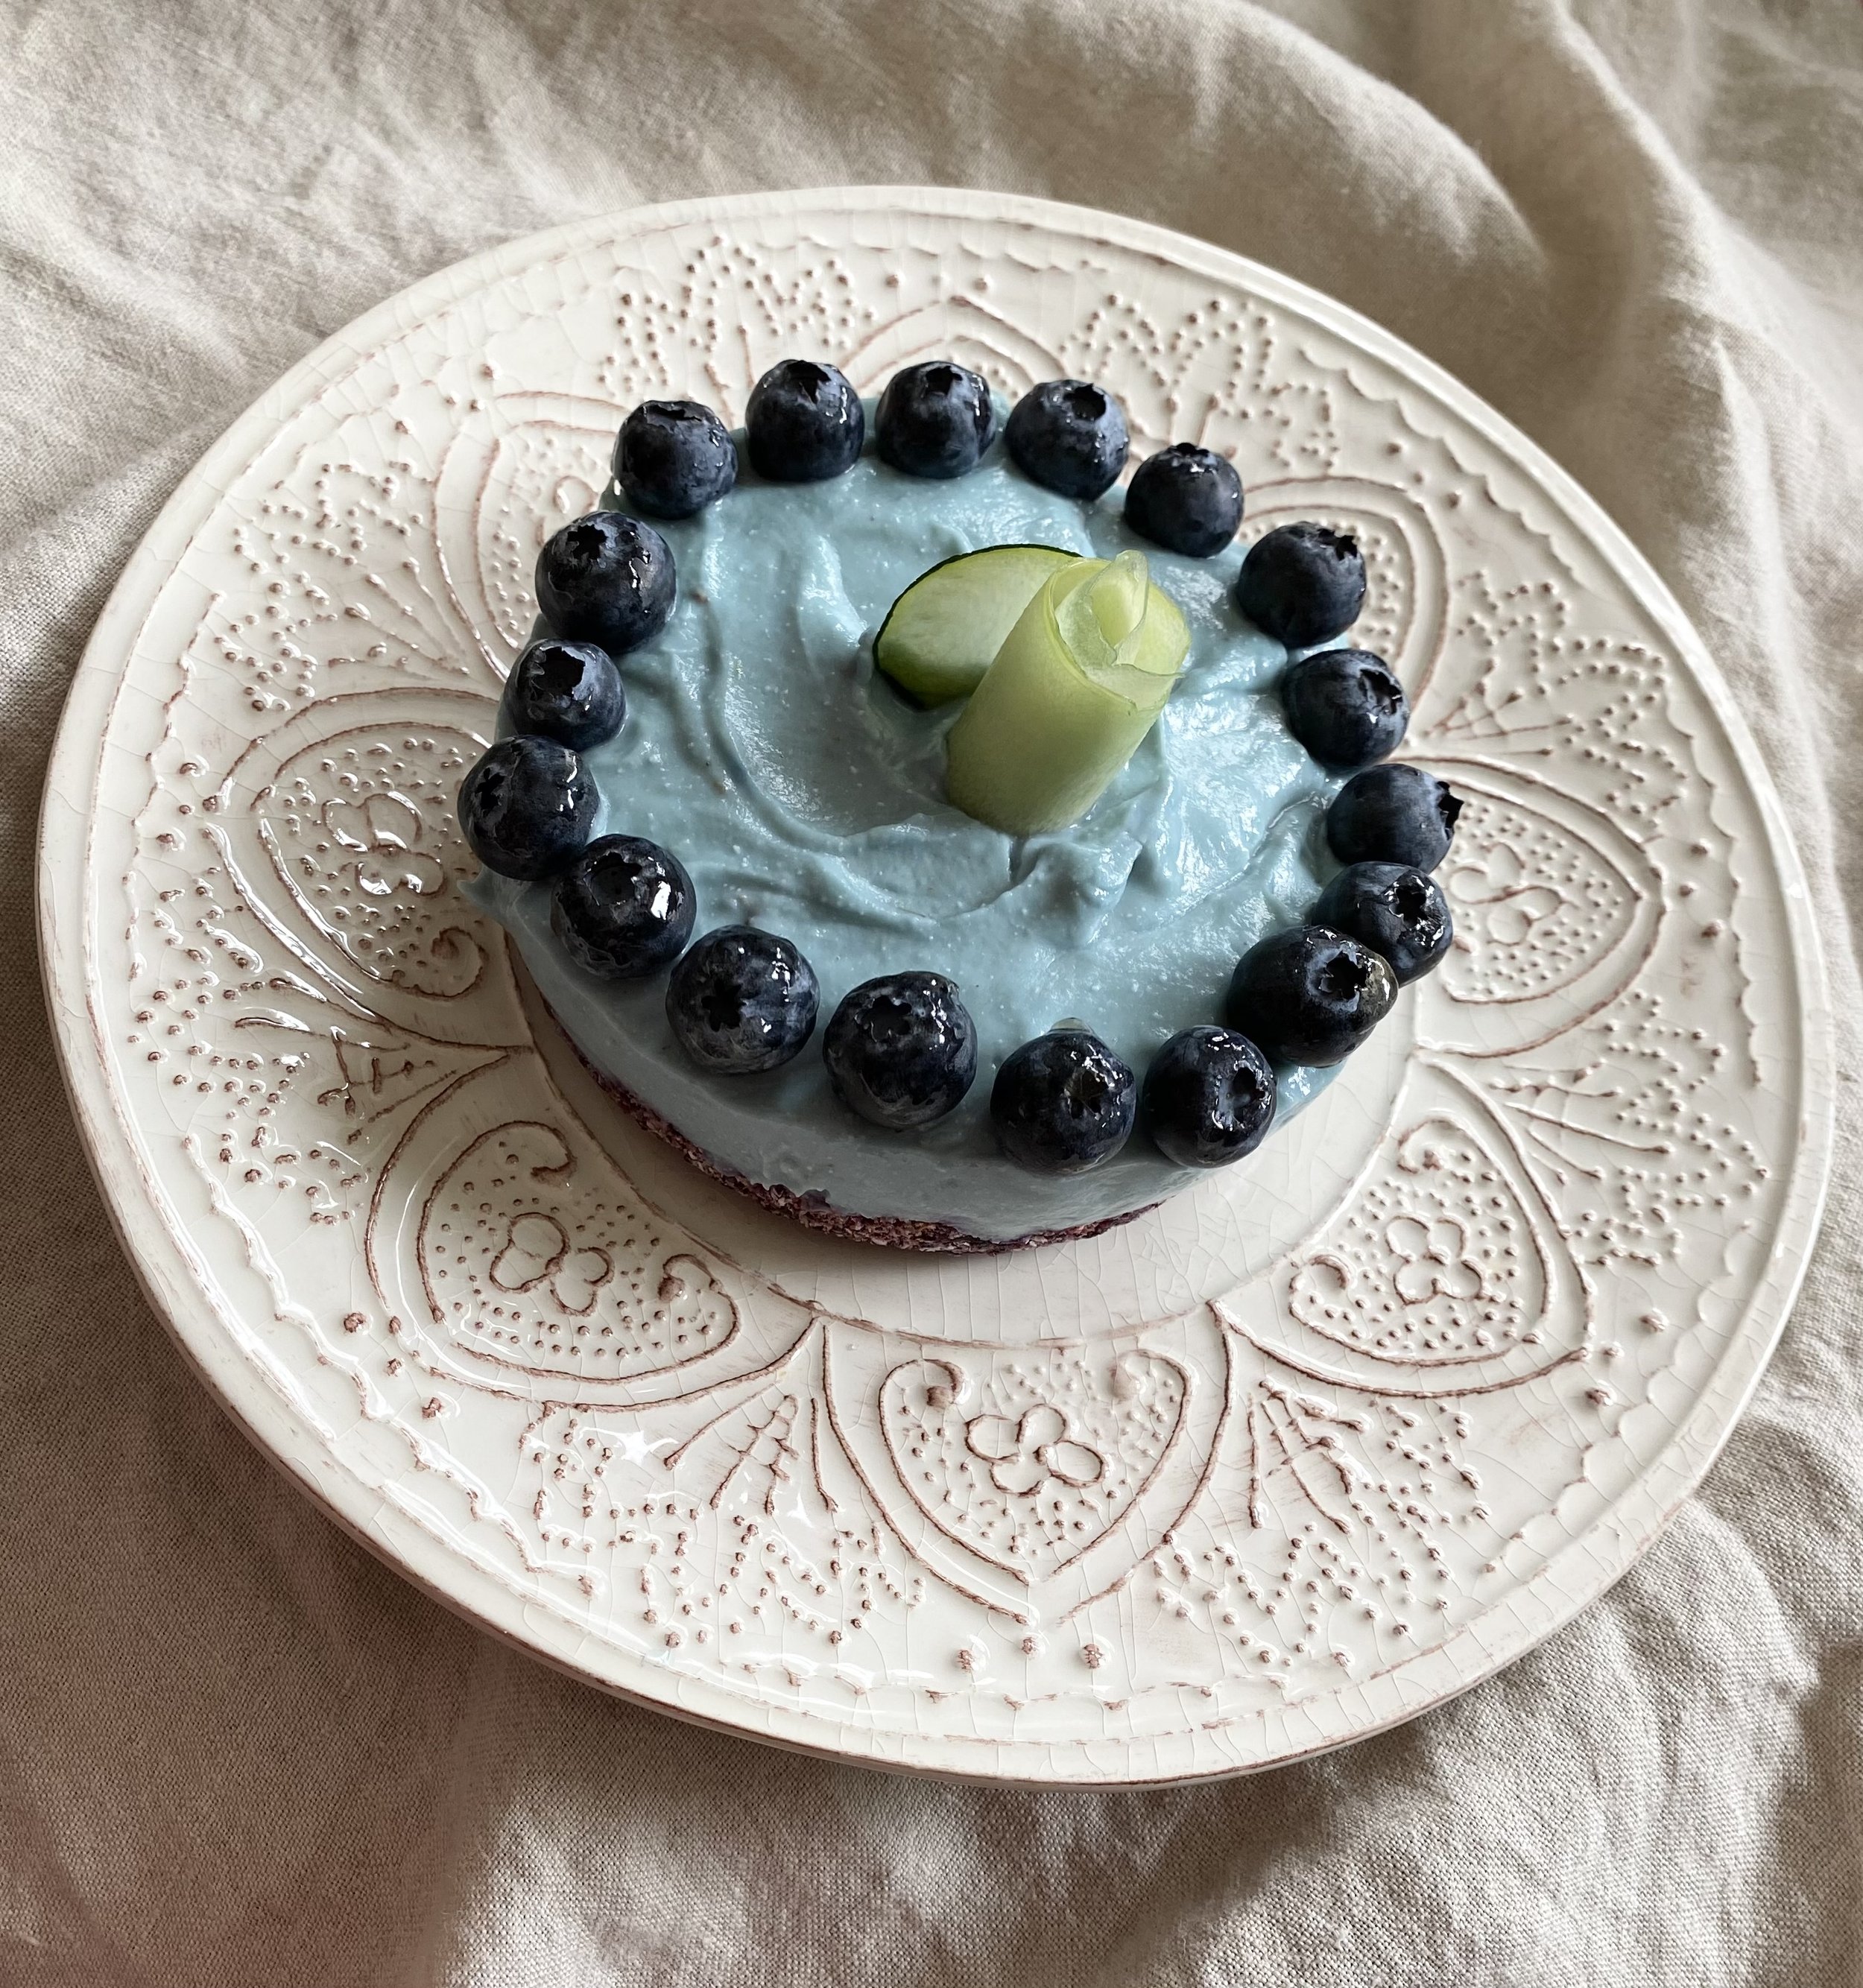
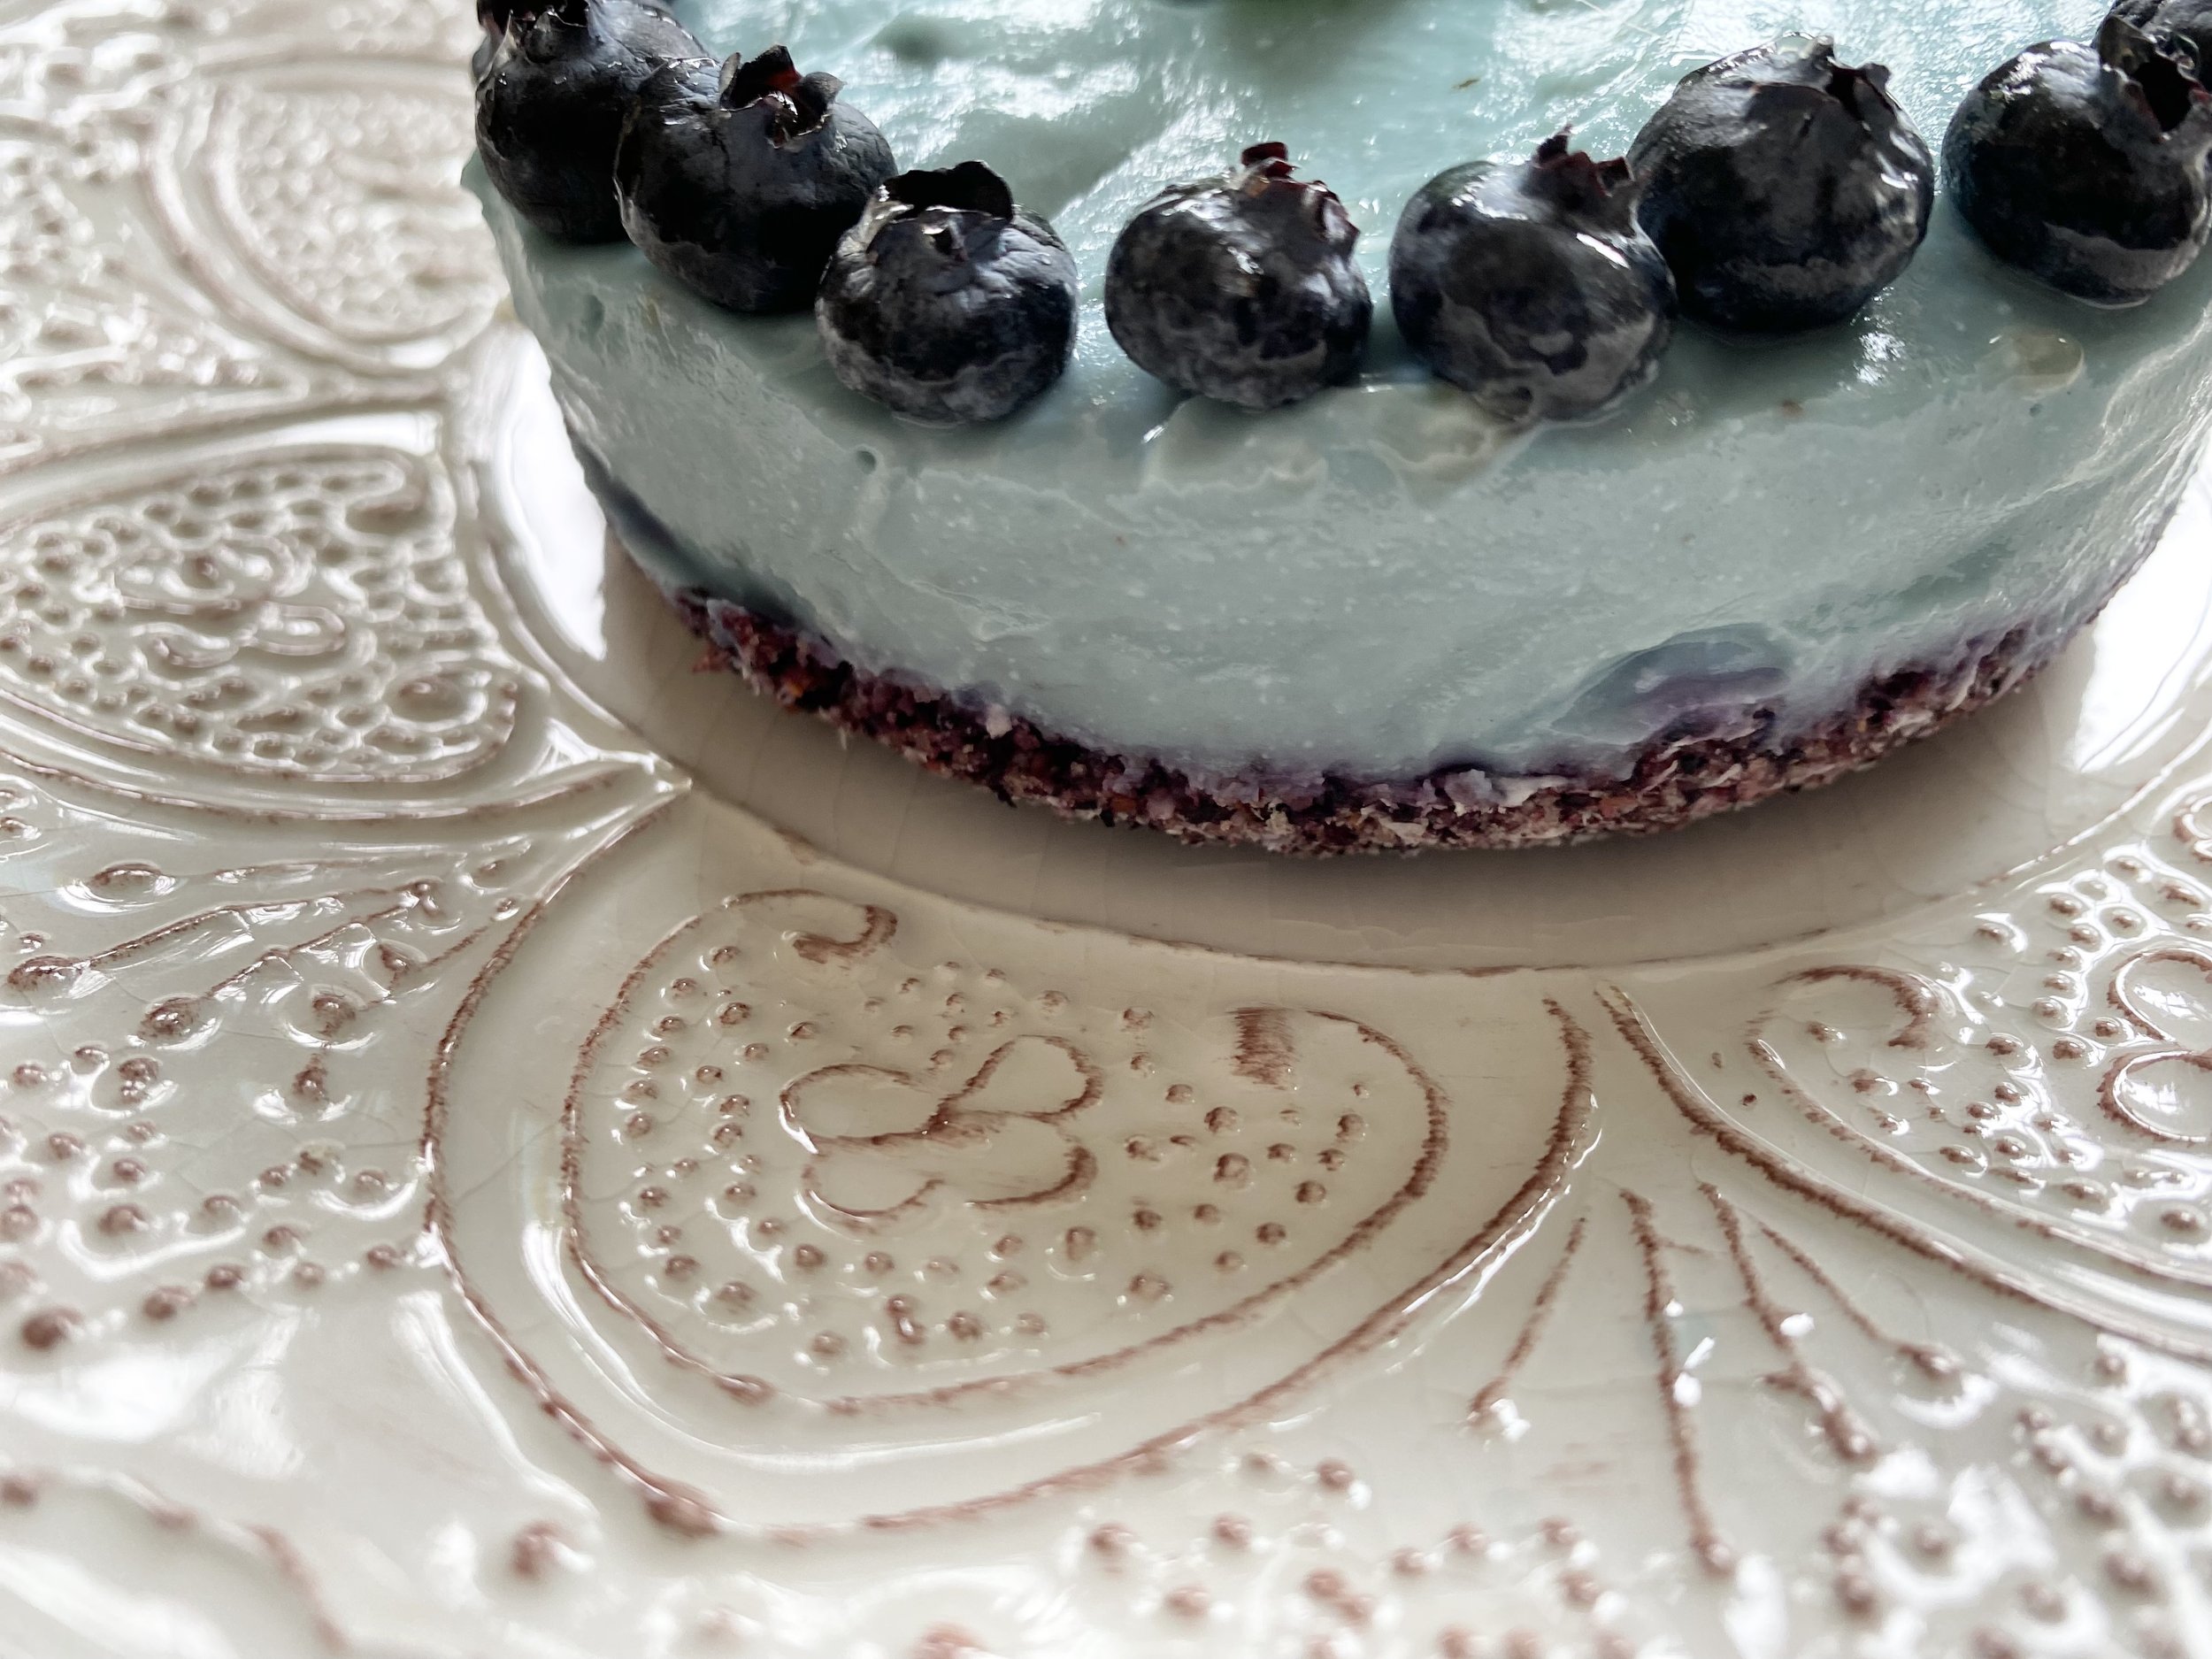
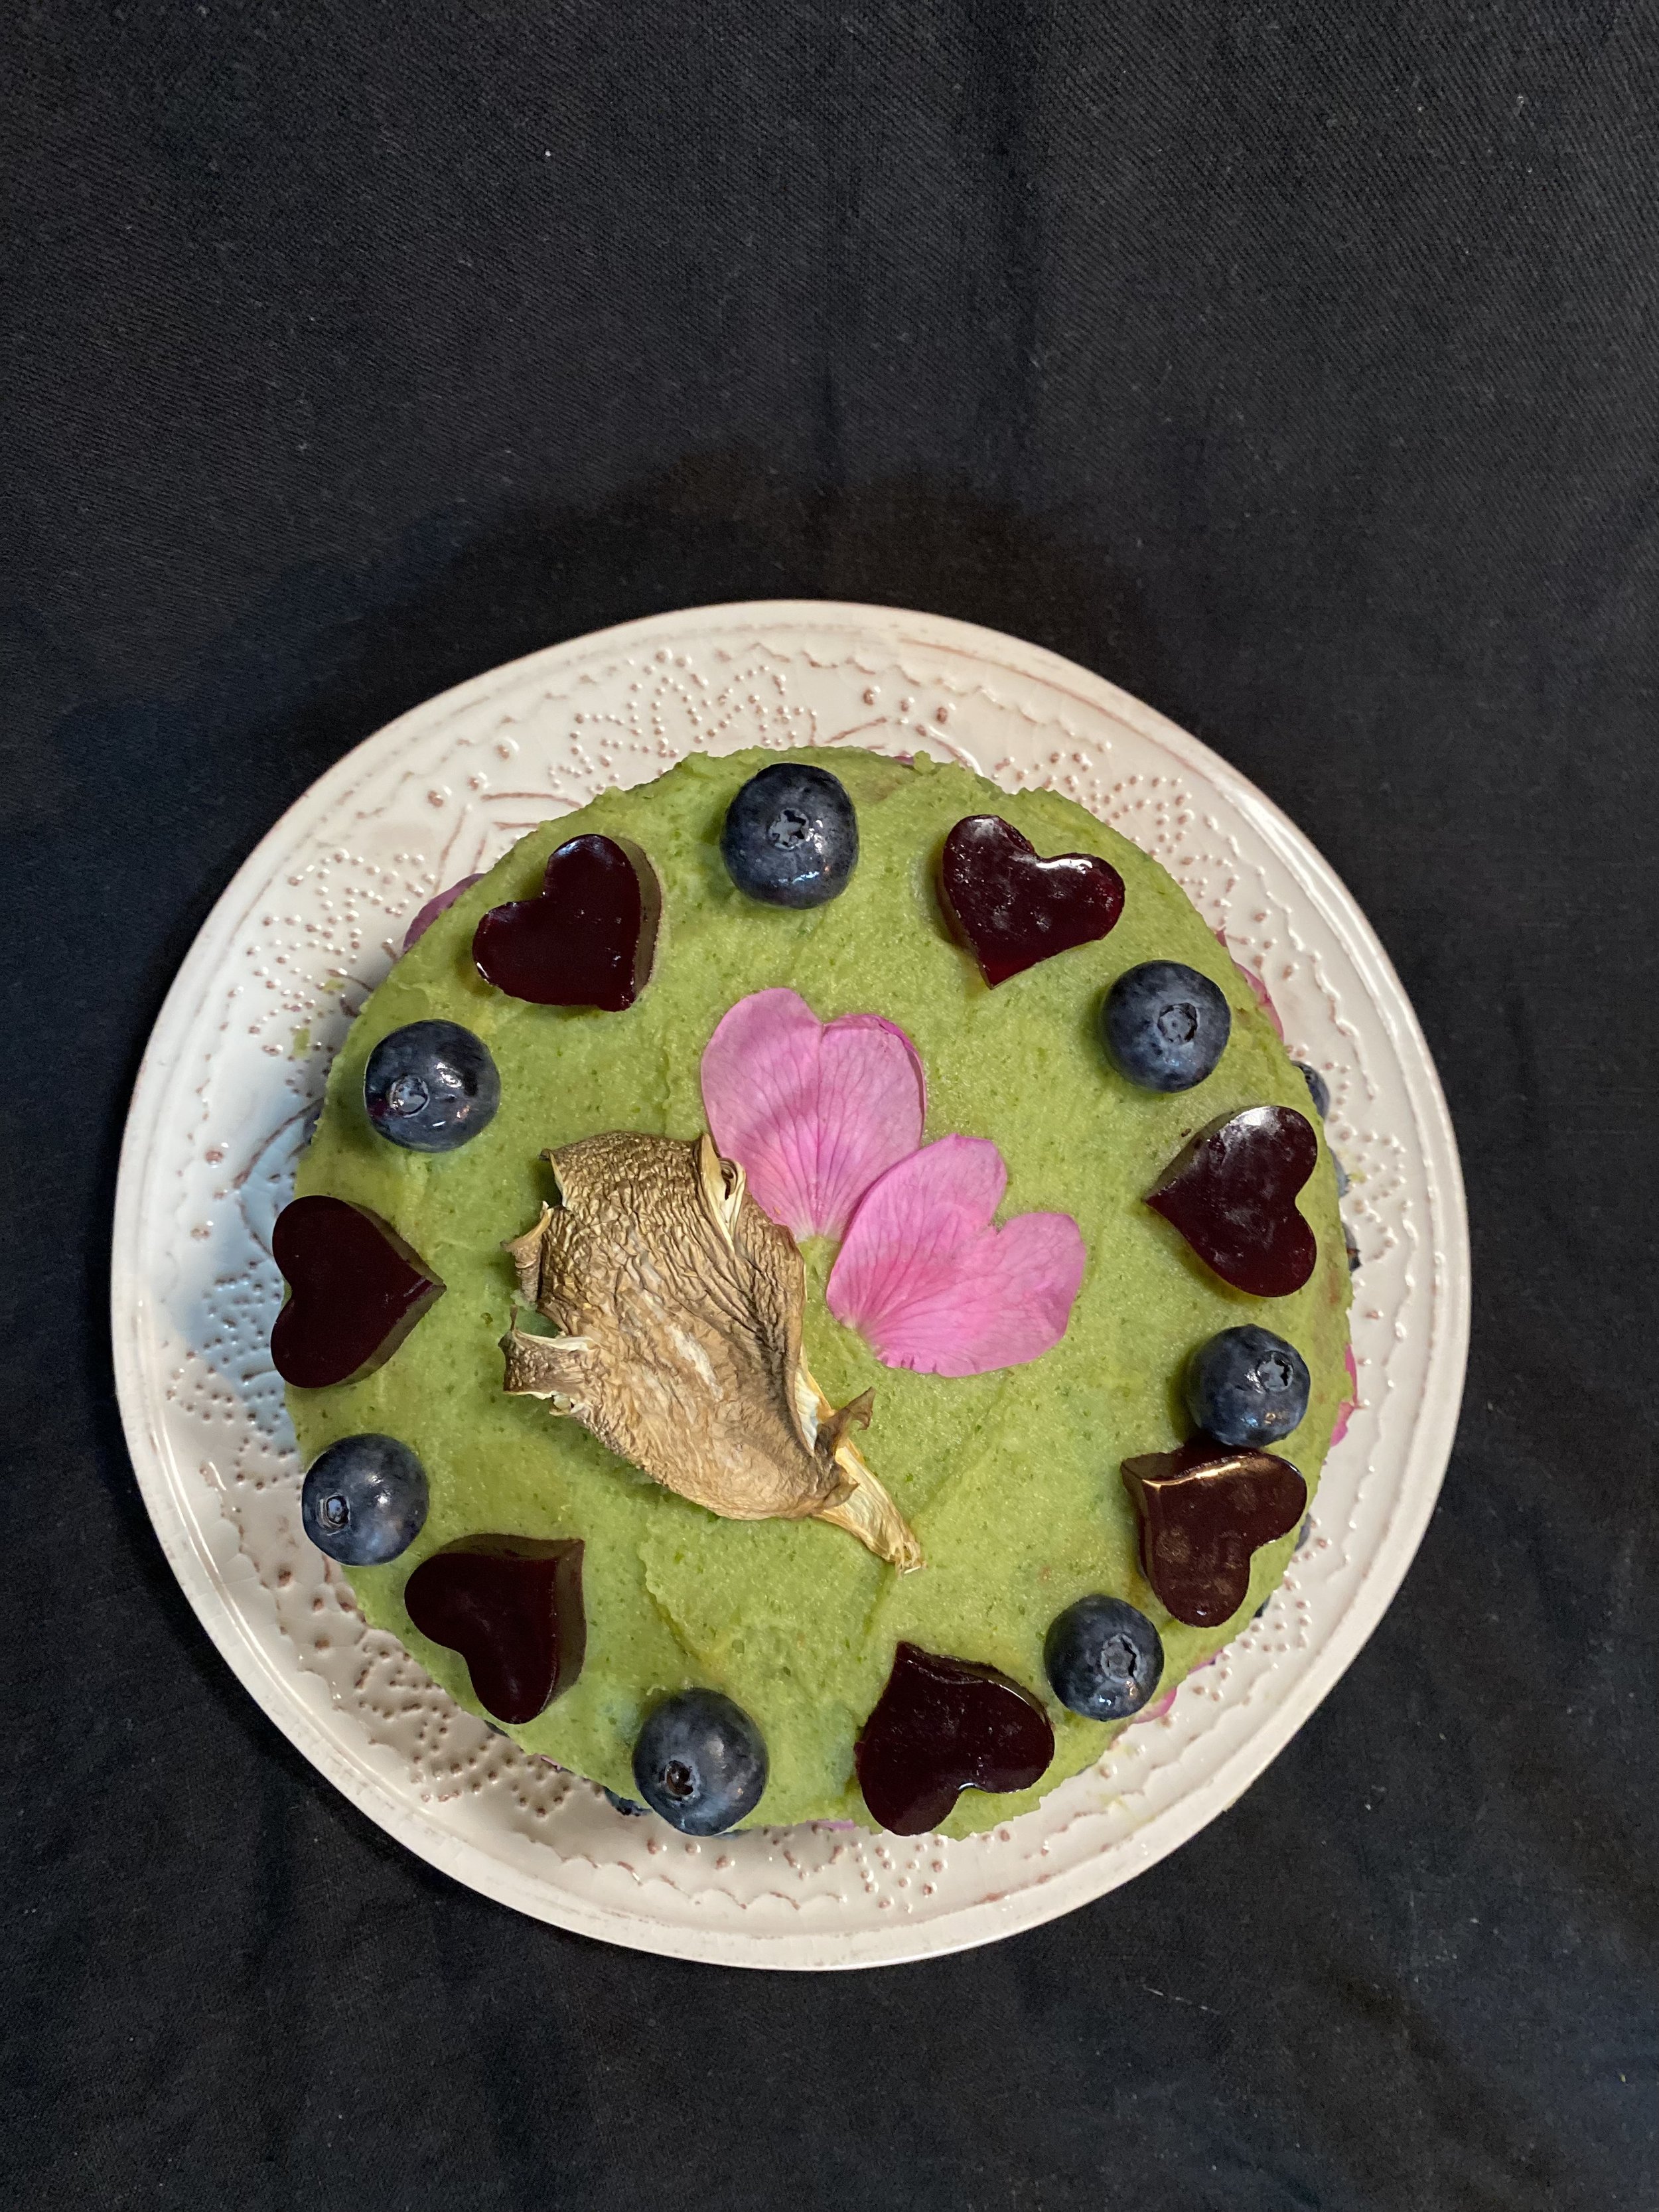
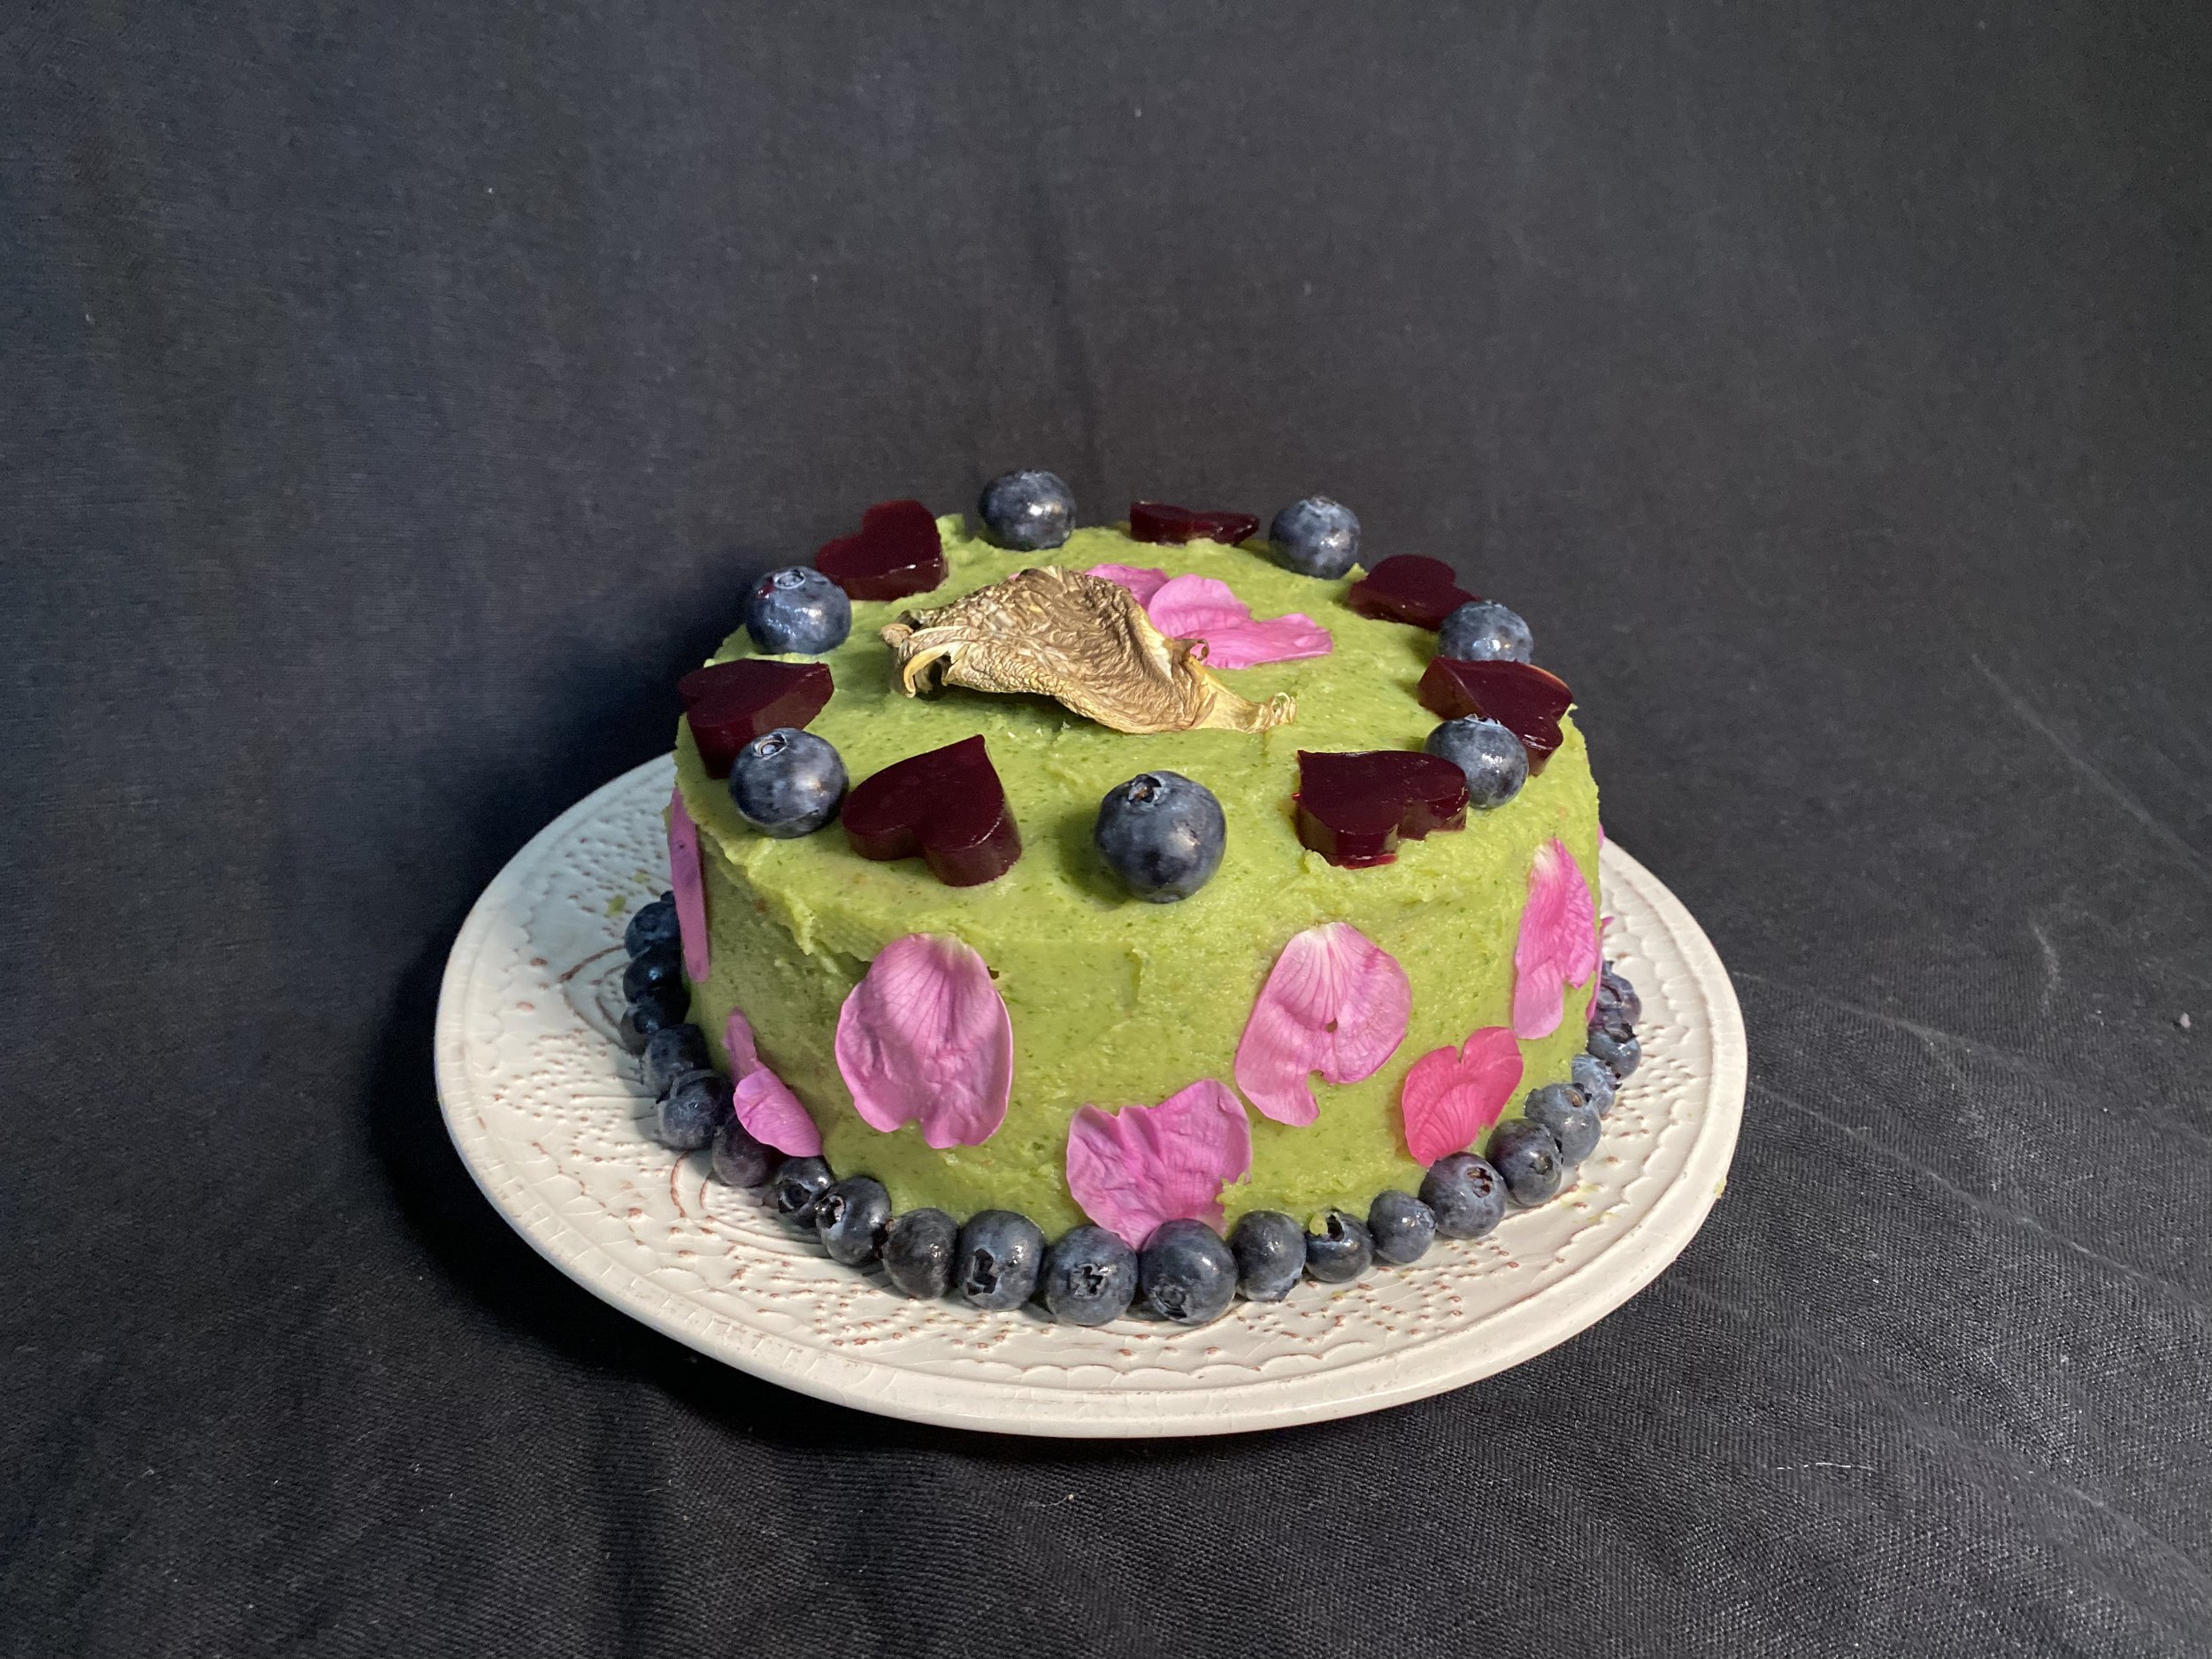
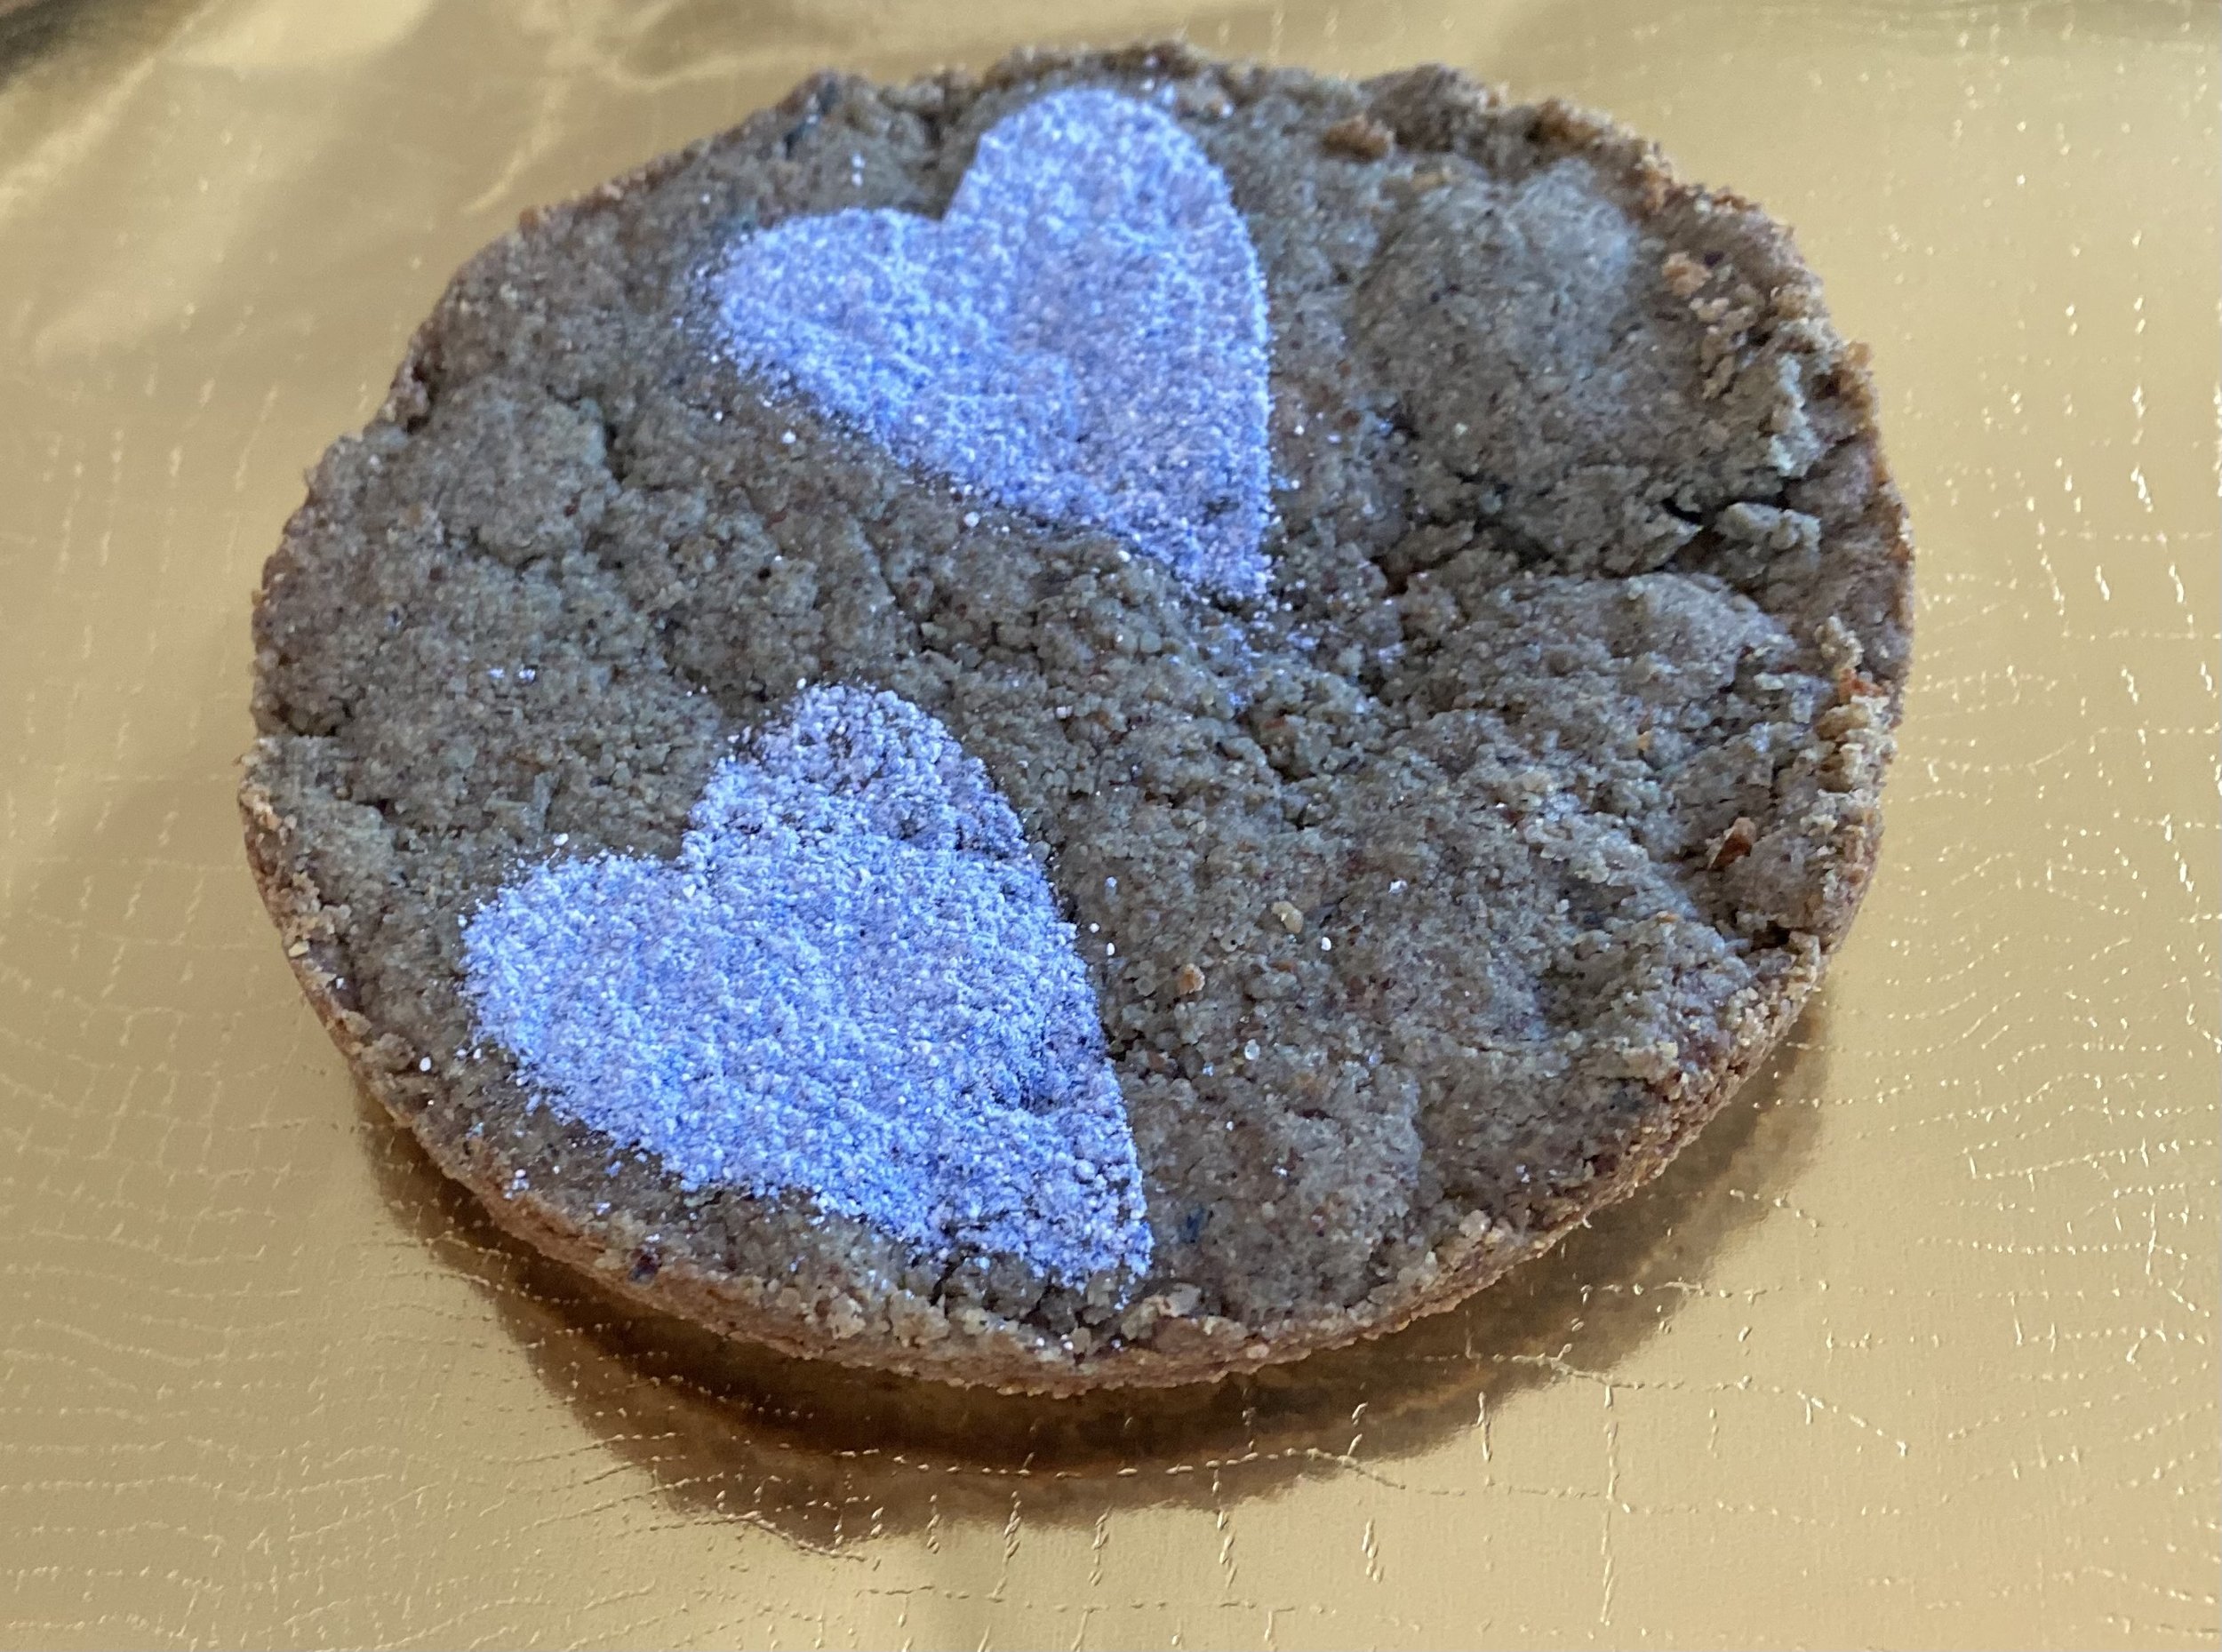
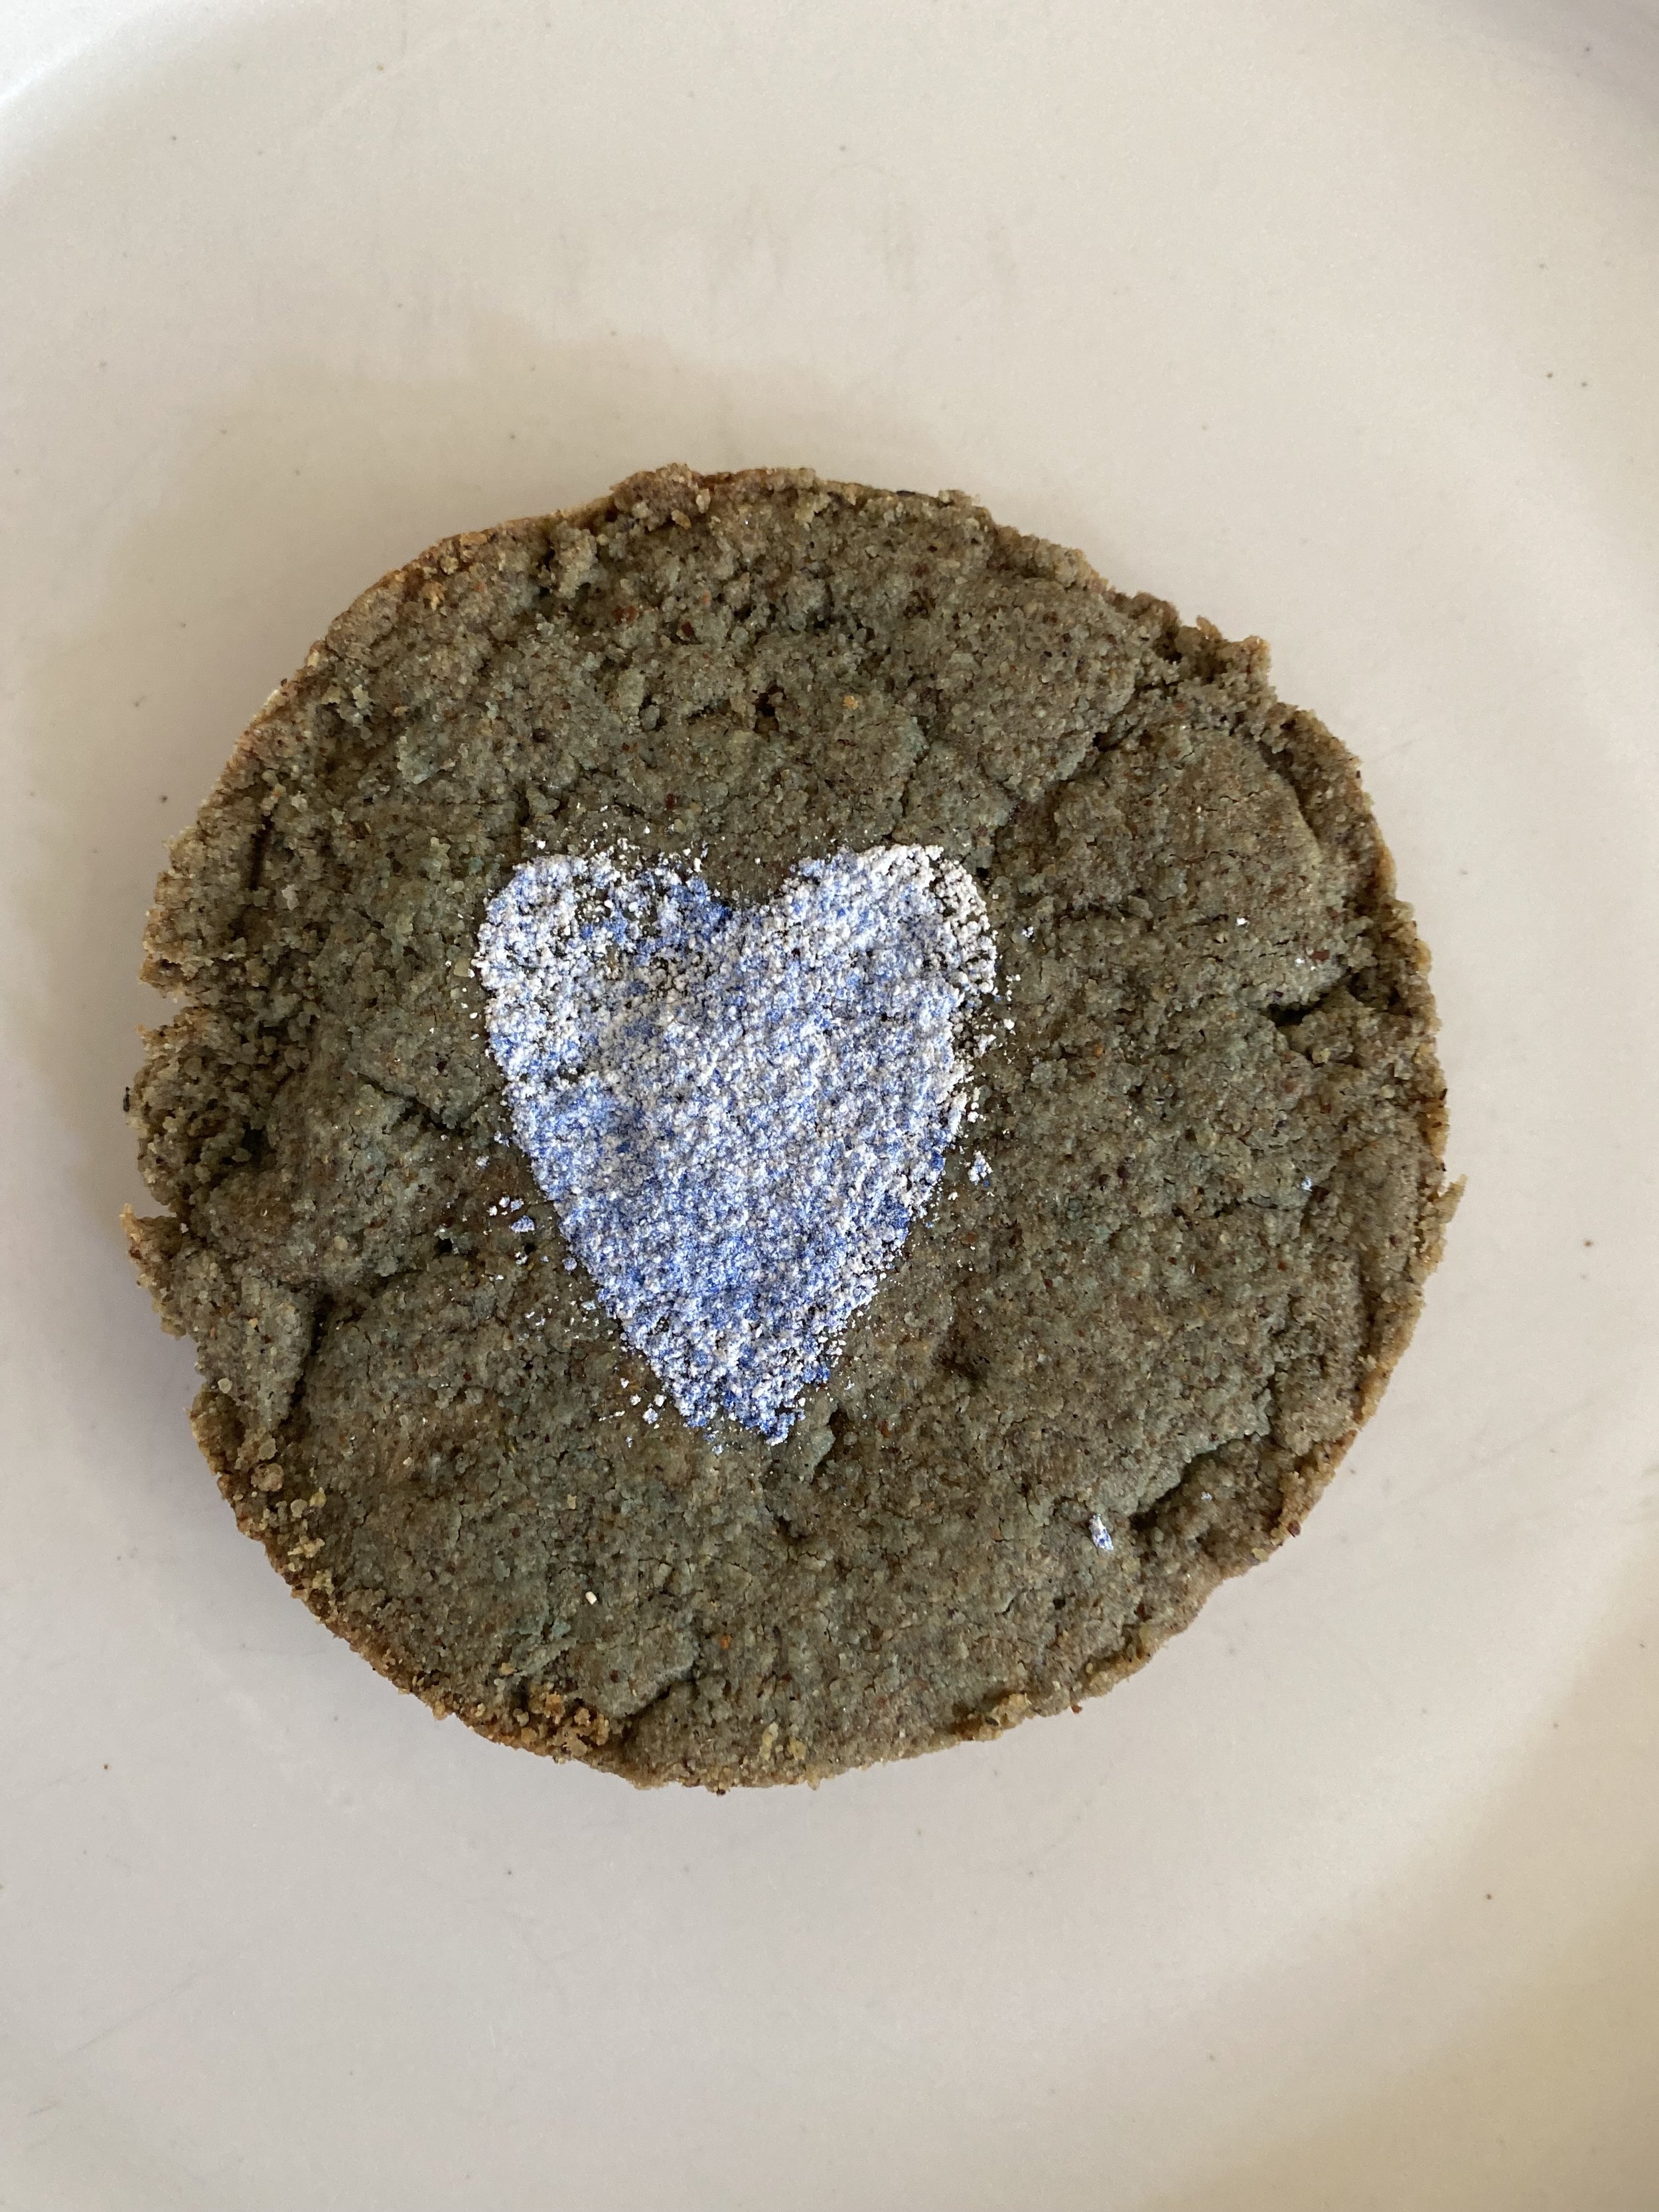
Chamomile has a long association with rest. This recipe produces a lovely blue shortbread with relatively minimal effort, and perhaps, with a cup of tea, invites a pause, and an opportunity to reflect on what rest means to us. 

Rest is a bit different for me as a person with M.E (PwME). In fact the only real treatment for M.E. flares is aggressive rest. Aggressive rest is not scrolling social media endlessly or binging episodes of your favorite show or even reading a book. Aggressive rest is not a beach vacation or a long nap. Aggressive rest is extreme withdrawal from all activity, often entirely flat, without sensory input of light or sound. This is not a pleasurable kind of rest, but a physically necessary one. 

Recipes usually appear as a set of steps without any breaks, without any rest for the cook. Perhaps this is why they can feel so intimidating: the cook is supposed to battle through chopping, stirring, plating without pause. The effort isn’t over at the end of cook time. After wrestling the written recipe into some sort of reality, the cook is left with the spoils of this war—a pile of dirtied pots, pans, and utensils, and perhaps a stained shirt, and sweaty forehead in need of a shower. 

For PwME and other energy limiting conditions, cooking can be an actually impossible task. For those who do have capacity to cook, using energy in this way can cause symptoms that make it especially overwhelming, and frankly, unsafe. This is not the battle of the day that a PwME would choose to fight.

Recipes rarely acknowledge the physical exertion of cooking and almost never acknowledge the physical labor of cleaning up. I am gradually, with much trial and unfortunate error, learning how to limit my energy expenditure in cooking. And, I hope to continue to share information about M.E. alongside useful kitchen approaches here and in other spaces where I write about food. Note that most of my ‘writing’ these days is mostly dictation, done from fully flat on the couch, in short spurts. 

I desperately love to cook. And, truthfully, I sacrifice using my physical and cognitive energy in other ways so that I can continue to, with much restriction and restraint, enjoy the pleasure of creating something nourishing to share that cooking represents for me. 

So, before you make and consume this shortbread, I have a request. Would you please stop first? Envision making the shortbread from start to finish. Read the recipe in its entirety (a good practice generally!). Attend to the pacing described. Imagine enjoying the shortbread. Contemplate what you will do— or more aptly not do— after cooking and consuming. Consider, is this a meaningful way I can use and share my energy with myself or others? Will it bring me joy greater than the output it takes to create?

Blue Chamomile Shortbread

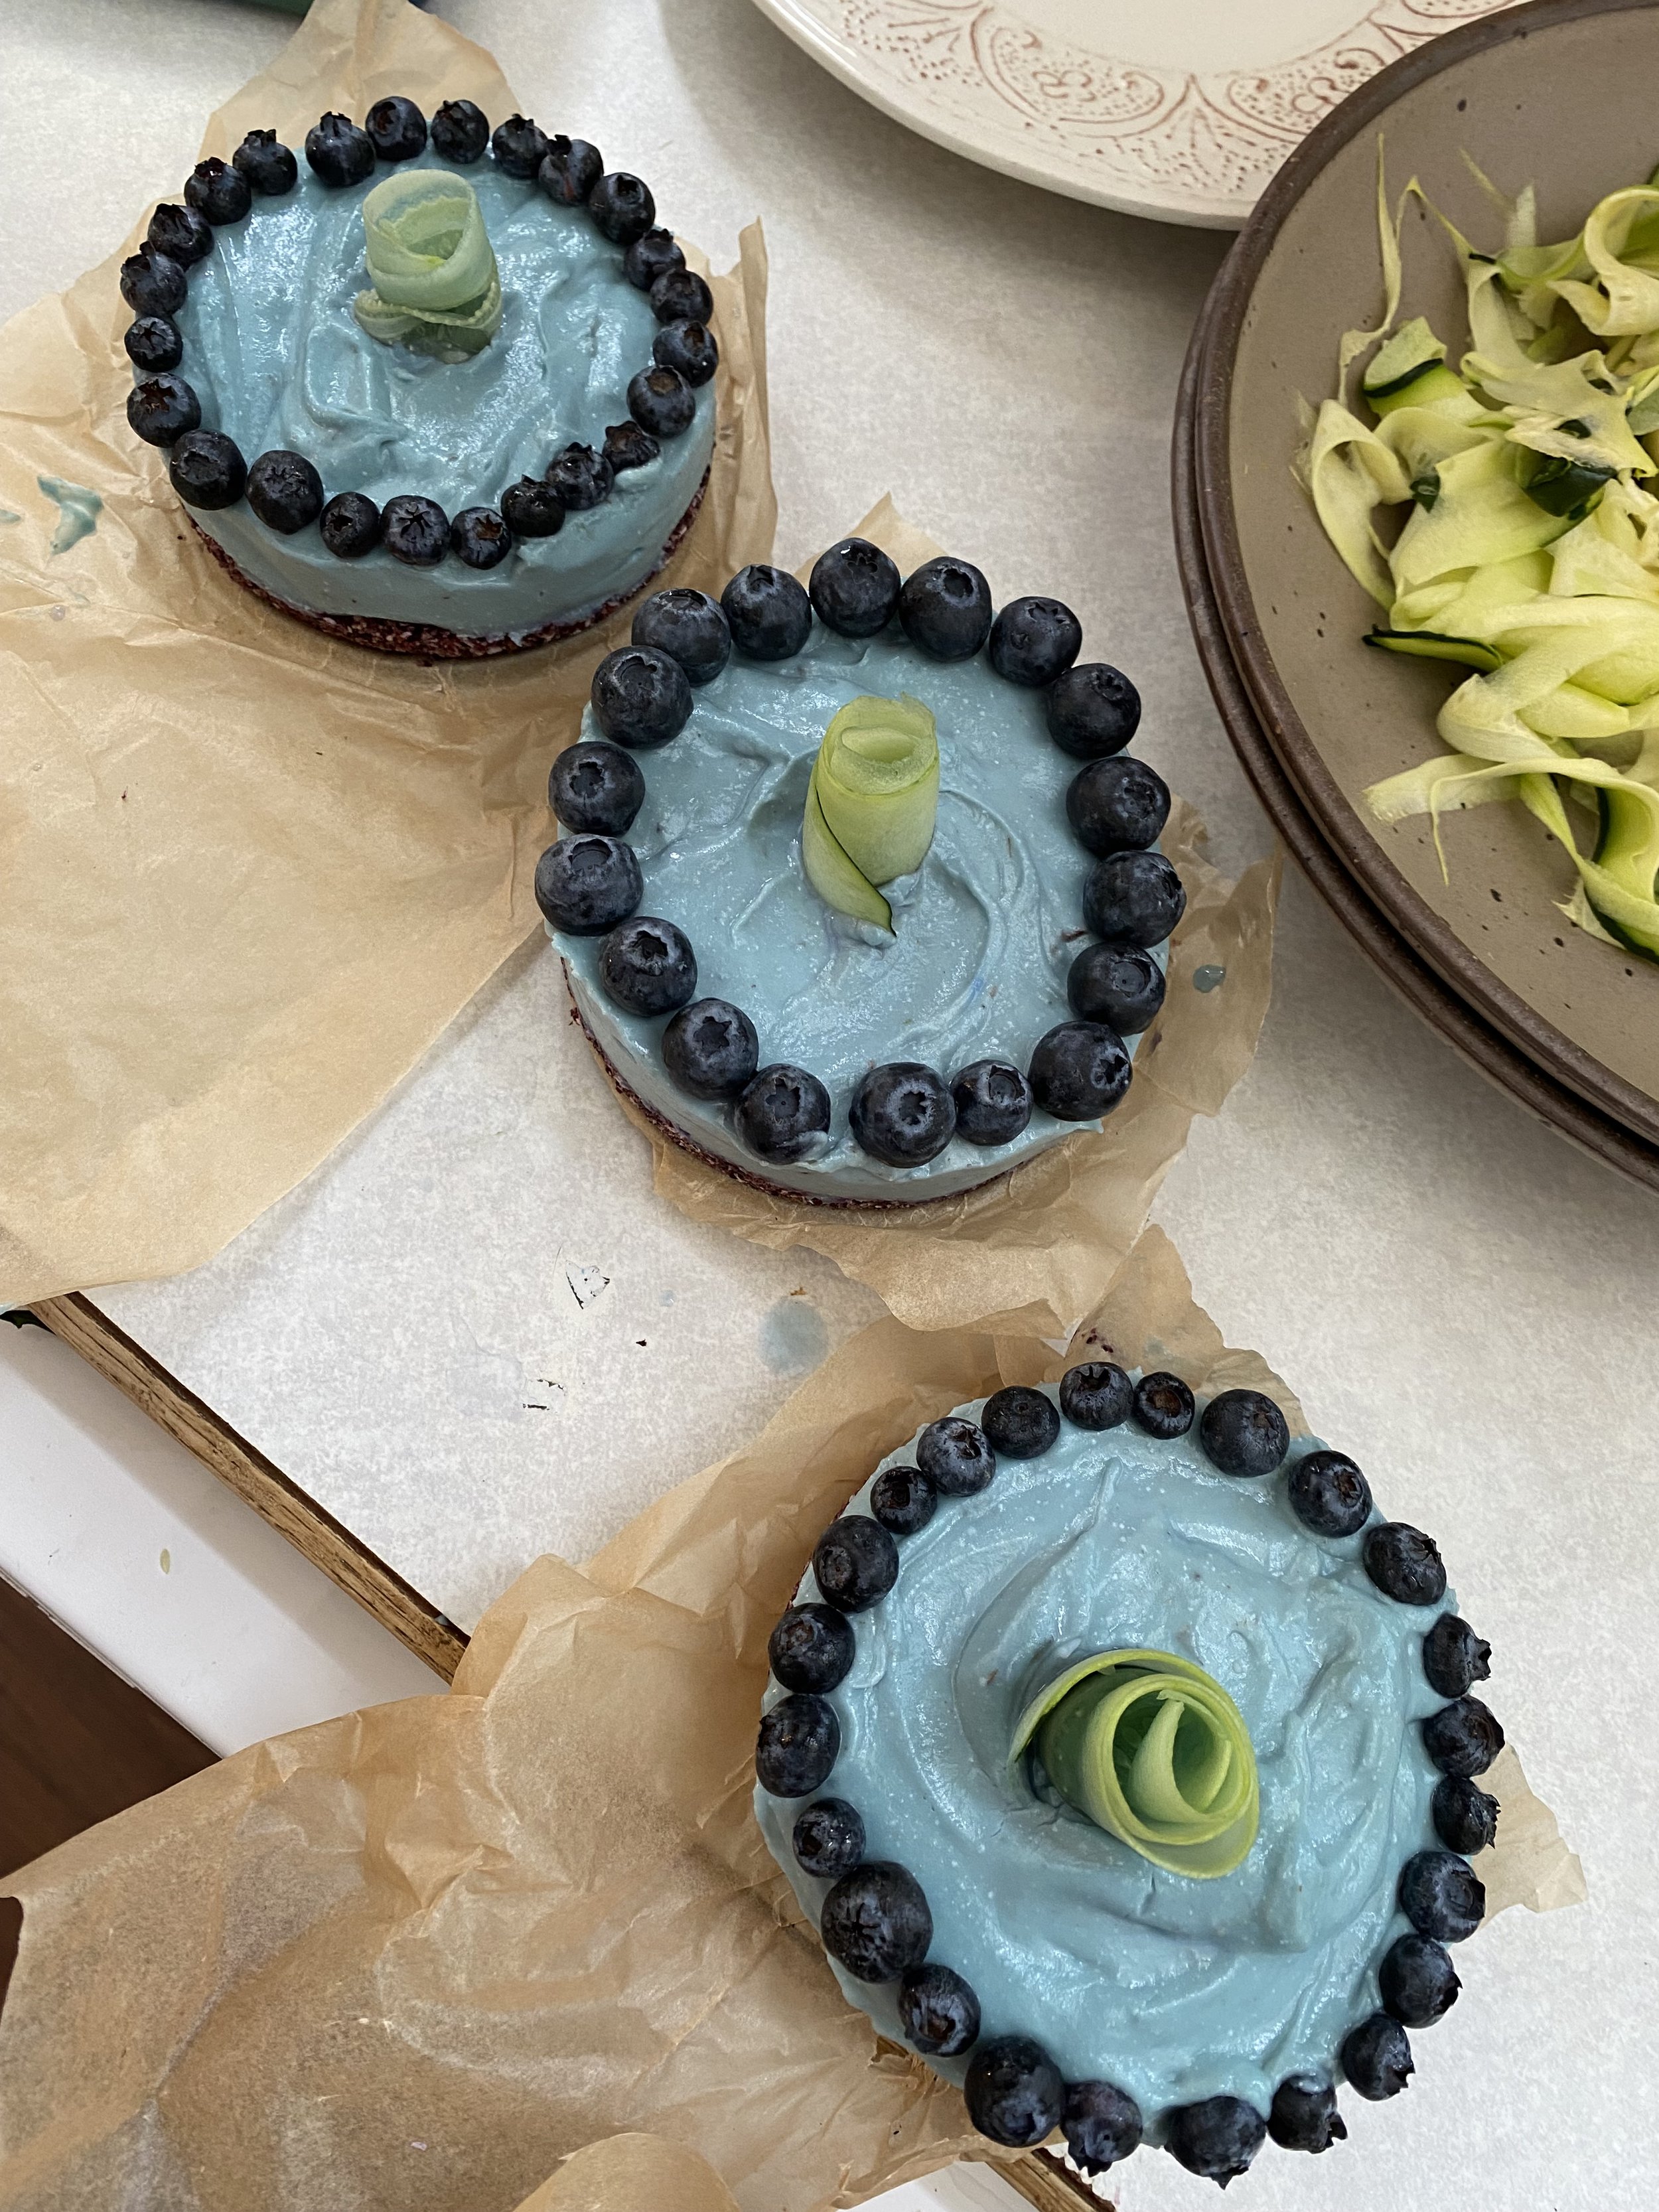
Makes 6 four inch round springform pans or one 8 x 8 inch pan

Upright time: approximately 30-40 minutes broken into 5-7 minute chunks

Ingredients 

  • 2 cups gluten-free flour blend of your choice

  • 2/3 cup granulated sugar

  • 2 tablespoons dried chamomile flowers (about two teabags worth)

  • 1 teaspoon blue spirulina (optional, for color only)

  • pinch nutmeg 

  • ½ teaspoons salt 

  • 13 tablespoons cold unsalted butter (if vegan use this brand) plus a bit extra for greasing pan

  • Optional powdered sugar and extra blue spirulina for decorating 

Method

  1. Line 6 four inch round springform pans or one 8 x 8 inch pan on bottom with parchment and grease sides. Parchment can be cut seated or lying down (upright time 5-7 minutes).

  2. Remove butter from fridge and cut into one inch cubes. If not using immediately, put cubes back into fridge and rest (upright time 5 minutes).

  3. Preheat oven to 325F and rest while it preheats (upright time 5 minutes).

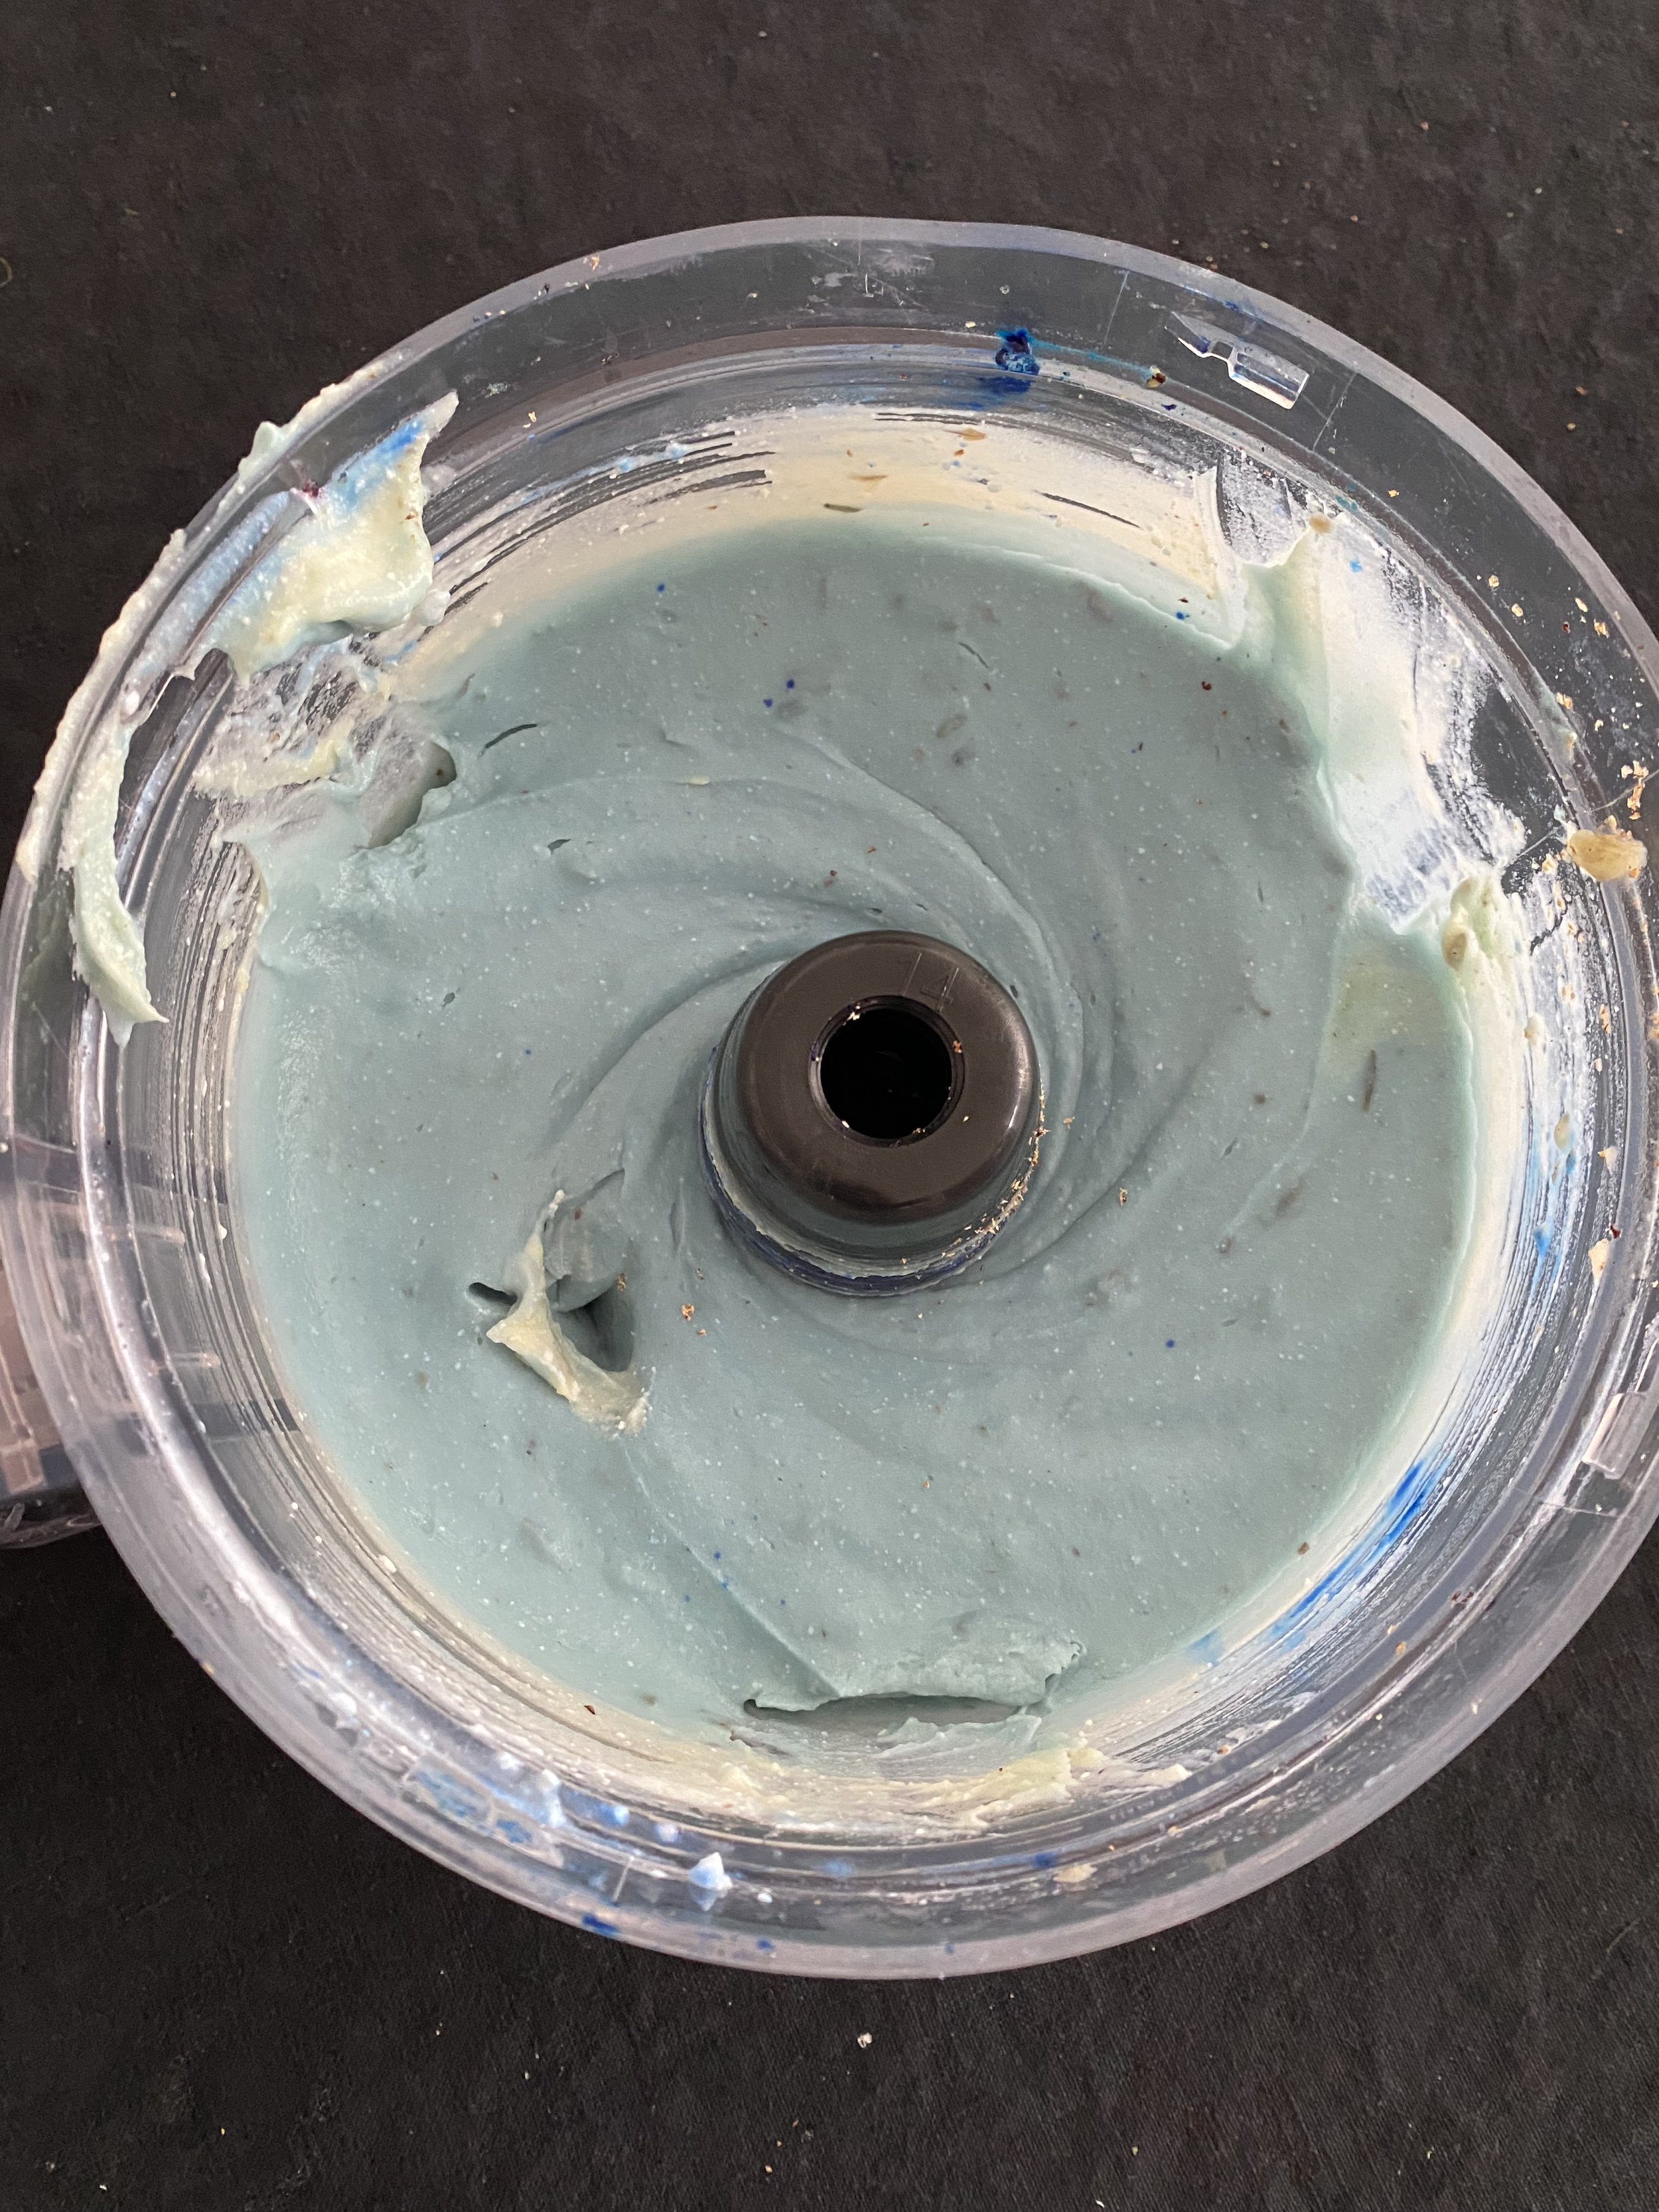
  4. Note: step involves loud sound. In a food processor, pulse together all ingredients except butter. Add in butter cubes and pulse until well-blended and mealy and balls start to form (upright time 5-7 minutes). Rest the dough and yourself. Can sit on the counter for up to 5 hours or overnight, covered in fridge (the dough that is, not you!).

  5. Press dough into lined pans. And put into preheated oven (upright time 5-7 minutes). 

  6. Cook for about 20 minutes until lightly browning at edges. Remove from oven and let cool completely before removing from pans (upright time 5 minutes). Can be stored countertop in an airtight container for 2 days or frozen indefinitely. 

Note: to create designs on the shortbread, cut out shapes from parchment and sift together extra spirulina and powdered sugar over parchment. 

I want to offer some additional thoughts on clean up. Parchment lining is such a helpful strategy. I have an Amazon subscription to precut unbleached parchment sheets. I use multiple each day as I cook most meals on baking sheets (I’ll describe this energy saving strategy in a future post). It allows for less scrubbing, and honestly, the sticking of food is often the downfall of a recipe, or at least its pretty plating. In this case, parchment allows for the shortbread to release with ease from the pans and the pans can be put directly into the dishwasher. This recipe intentionally builds in quicker clean up— so don’t skip the lining step!

Graphic of Stop Rest Pace


Digest: Blue Sunday M.E. cake for me (and you, too)

[Note that this was all dictated, so please excuse typos.] 

May is M.E. Awareness Month. As a part of this month, there are several events that specifically aim to build visibility of this profoundly misunderstood and misrepresented disease. Note that I am using M.E. because that is preferred by the patient community, though the medical profession often still uses the abbreviation ME/CFS.

Annually, May 12 marks International M.E. Awareness Day. The date May 12 was chosen because it is the birthday of famous nurse Florence Nightingale. We hear much of her heroism and her contributions to medicine, but her story most frequently ends at age 30 or so. Why? Like so many people with M.E. (abbreviated by the community PwME), Nightingale “disappeared” around this age. She was stricken with an M. E.-like illness following the Crimean War and was largely unable to work and bedridden for the rest of her life. So many of us PwME, myself included, find our stories untold, silenced, forgotten after M.E. affects our lives. This month, and specifically May 12, represent an opportunity to make change: to tell our stories, to build community even as we must be isolated in our homes and beds, to ask our allies to cry out and advocate on our behalf we we no longer have energy to do so. Did you know that of all major diseases M. E. is the least funded in proportion to disease burden by the NIH? Did you know that physicians and clinical providers speak with four times more negative language about M. E. than any other disease or illness?

Because PwME often have limited energy to advocate for themselves, allies are needed to change the way that stories are told, and help bring attention to the millions missing from our own lives.

May 14 is another important day. The second Sunday of May is known as Blue Sunday, a day to wear blue, drink tea, eat cake, and raise funds for M.E. research. In fact, I started my own fundraiser that goes directly to Solve M.E. here. This international day for fundraising and coming together is asynchronous, encouraging pacing, and appropriate participation based on energy level. 

For Blue Sunday, I created a paced recipe for my own solo tea party, which I had a week prior (May 7th) to pace my energy for posting and advocacy for the following week’s big events.

As a PwME, I often find myself wrestling with how much energy I want to spend on cooking and how much energy I have to spend. One way that I’ve worked on this imbalance is by supine recipe development. While resting in bed or on the couch, I think about a recipe, imagining each step and ingredients, trying to troubleshoot what could go wrong. I then think about ways that I can break the recipe up into steps to allow for resting between phases.

I developed this recipe for a Blue Sunday tea cake in my head over about a week, then I sent my loving (and busy!) partner out for groceries. Once I had all my ingredients, I made this recipe over a period of three days. Many PwME have dietary restrictions and sensitivities that come with the overactivity of their immune systems. I’ve recently had some trouble with sugar, so this recipe concocts something sweet but low in refined sugar, and I taste-tested without it causing a reaction. 

I hope you’ll find this tea cake one that you can make, have, and eat, too. If you do, I hope you post images to social media, tagging me (@apronon on Instagram and/or @Hollis Mickey on Facebook) and #TeaPartyForME2023 and #BlueSunday2023.

Tea Party for ME tea cake for me (and you, too)

Makes four 4 inch cakes in springform pans or one 6 inch cake. Don’t have a springform? make in a muffin tin, filling six cups.

Upright time: Approximately 40 minutes total to be broken up as needed by cook as recipe indicates (rest is built in and mandatory for ingredients!). I made this over three days.

For the crust 

For the filling 

  • 1 1/4 cup cottage cheese

  • 3 small white sweet potatoes (makes about 3 cups when peeled and roughly chopped; I like the satsumaimo variety) 

  • 1-2 tablespoons honey, maple syrup, or agave 

  • 1 teaspoon vanilla extract

  • 1 teaspoon blue spirulina (for color, optional)

  • 1 tablespoon lavender flowers (optional, or sub in any flavoring of your choosing) 

  • 1/4 teaspoon salt 

To make the crust: 

1. Line springform pans with parchment (about 5 minutes upright; you can cut parchment laying down as needed).

2. In a food processor, pulse together all ingredients until they are fully pulverized. Press into lined pans (5 minutes upright). Freeze until ready to use. 

To make filling: 

1. Peel, roughly chop, and steam sweet potatoes until fork-tender (about 10 minutes peeling and chopping; rest while steaming). Let cool for at least one hour or as long as overnight while you rest. 

2. In rinsed food processor (no need to waste energy washing!), blend together all filling ingredients on low speed until well combined. Taste and add more honey as needed (about 10 minutes upright). Let filling chill at least one hour and as long as overnight while you rest. 

3. Dollop filling into lined pans (about 5 minutes upright). If your filling is a bit runny (it will depend on your cottage cheese and how starchy your potatoes are), set up in freezer for about an hour. Otherwise chill in fridge while you rest.  

4. Decorate as you like with fresh berries, zucchini 'roses,' or whatever you prefer (5 minutes upright). 

5. Share and enjoy a paced, low sugar delight and celebrate all the PWME and their allies who come together for Tea Party for ME

Digest: loafing around

Loafing Around 

At the end of March, I made a journey from Alaska to Arizona. I left feet of snow and subfreezing temperatures to arrive in a desert landscape. This journey was primarily to seek medical advice for my progressive, complex chronic disease, ME/CFS. 

The journey was hard on my body, as were the evaluations by physicians. And, I faced some of the most severe crashes I've had in a while. Though I was hopeful the trip would provide some radical new insight, I was also realistic. 

ME/CFS has no FDA approved treatments and I am part of the 25% of patients who are housebound or bedbound with disabling symptoms of disease. Evaluations by a career ME/CFS specialist confirmed that I was, as he humorously put it, 2 out of 10 on his severity scale, with 0 being "dead.” As he said, I am “not dead yet.”

Jokes aside, what this really means is that I am at around 80% maximum severity: I am mostly supine during the day. Complex cognitive tasks can be quite challenging, including things like reading and writing. In fact, this blog was dictated and edited over a series of days— so please do excuse any unusual words or typos.

Night sky in Tucson

After evaluation by physicians, my partner and i returned to the Tucson Luxury Retreat where we had stayed the previous year. We settled in for several weeks to rest aggressively before returning to Alaska, an attempt to mitigate further deterioration that might be spurred by travel. 

Aggressive rest is not my nature. This therapeutic approach to treating ME/CFS means extended periods in bed with low sensory inputs, trying to sleep as much as possible, moving as little as possible, and with minimal physical and cognitive exertion. As someone who previously climbed mountains, skied daily in winter, and biked to work from the gym from summer, as someone who taught college classes, relished dense books of literary theory, and created cipher-like poems, this is a massive lifestyle adjustment. 

Some days it's quite hard to cope with what it means to be so limited in my body and mind. A new challenge arose upon arriving in Arizona as well; I discovered that UV light and heat flared my erythromelalgia. I had hoped to be able to rest outside, but instead I found myself in darkened rooms, avoiding light. Still, the small joys of resting in a different place were abundant.  

I longed to be able to do some of the things I remember from my previous visit. And, I found myself saddened by the reality that my body was weakened and more fragile and sensitive than the year before. However, the rooms of this beautiful retreat each tell a colorful story, appointed with exquisite paintings, comfortable furnishings, and bright textiles. In the pleasure of these rooms, I allowed myself to rest, perhaps in ways I wouldn't have allowed myself to do in my own home. In my resting, I discovered that through the windows I could hear the world, even if I needed to have the curtains drawn. I made a habit of closely listening to birds, coyotes, and stirrings of wind outside. 

Convalescent view

Each night at dusk as light faded, I would rise from my supine rest, and step out onto the grounds. Wrapped in a shawl and sometimes with silk gloves to protect my hands from residual light, I would take a few steps around the property: walking slowly, carefully, and drinking in every moment of fresh air. When when is inside almost all the time, there's nothing quite like the mineral fresh smell of evening desert air. 

On these walks, I became intent on learning the names every single plant in the front garden and determined to identify every bird I heard or saw. I became quite addicted to the Merlin Bird ID app put out by Cornell. Because the light was low, sometimes seeing a bird was challenging. But I could listen to their calls. I used the sound ID to identify a myriad of bird friends: Gamble quail, verdin, vermilion flycatcher, hummingbirds (who knew they were so loud!), doves, even a rare Nashville warbler, who seemed to visit the yard every night just as I popped out for my tiny toddle. 

Post sunset view

These short nightly walks were at once triumphant and tender: glorious time in the world, but also only a glimpse of that world I longed to be in so much. But, one has to try to bring humor to these moments, to embrace the tears and appropriate grief but also laugh and find lightness (especially since I must hide from the actual light). This brings me to the notion of loafing around.

Loaf as a verb has a debated etymology. It is thought perhaps to refer to servants who might have eaten loaves of their masters, literally loafers. But regardless of its origin, the term has come to be the antithesis of work. Indeed, I'm completely and totally unable to work at this point, with my eyes unable to focus on screen text for much duration and cognitive strain sometimes causing dramatic post exertional malaise.

A loaf of bread is, however, not the antithesis of work. A loaf of bread is usually a massive amount of work; crafting a well-made loaf of bread takes time, care, and lots of fervent attention.

Being mostly supine, I'm not able to cook with such dedication anymore. In fact, I map out the gestures of my cooking in my head often before I get up in the morning or as I'm falling asleep at night. I pull out my ingredients first thing in the morning when I have a bit more ability to be upright, and ask my partner to assist maneuvering any heavy equipment into an accessible location. 

I try to batch all the little tasks of cooking into small upright clusters I can do as I retrieve water, go to the restroom, or otherwise rouse from my couch or bed. So, a more elaborate project like loaf of bread (such as my undeniably delicious lentil bread) might seem a bit out of reach these days, both literally from my supine position and in the act of making. Cooking with any sort of fatigue is challenging, but baking with fatigue and brainfog is a next level effort as it usually involves so many steps and so much time. 

Still, there is nothing more reviving when one is in need of care than a slice of homemade bread, fresh out of the oven. I came across a recipe that inspired me and I adapted at the Tucson Luxury Retreat. Using the beautiful kitchen using the equipment at hand, I made this tender loaf, perfect for a little thing around. 

The simple recipe below really only necessitates a few ingredients and very little upright time, about 15 minutes total. Despite its simplicity the loaf is quite adaptable and can be flavored and spiced in just about any way to accompany whatever spreads, jams, fillings, cheeses, or other accoutrement you might want to put between its slices.

I rather love the pun of loafer like me making a loaf. It seems a way to find humor in the situation, and also nourishment even in the most trying times. 

sliced oat loaf

Loafer's Oat Loaf 

Makes 1 loaf, about 12 slices

Note that all spices are optional. Consider replacing oregano with any green herb, adding nutmeg and lemon zest, grinding in black pepper, whatever suits your fancy. 

Ingredients:

  • 1 1/2/ cups milk 

  • 2 tablespoons apple cider vinegar

  • 3 cups gluten-free oat flour 

  • 1 teaspoon baking soda

  • 1 tablespoon dried oregano 

  • 1 teaspoon salt 

  • 1/4 teaspoon cardamom

  • 1/4 teaspoon cinnamon 

Method:

1. In a bowl combine vinegar and milk. Preheat oven to 350F. Line a loaf pan with parchment. Step away and rest for at least 30 minutes. (upright time: about 5 minutes)

2. In a large bowl, whisk together the flour, baking soda, salt, and any spices of your choosing. (upright time: about 2 minutes)

3. Slowly add in milk. Mix until well combined. This bread is gluten-free so you do not need to worry about overmixing. (upright time: about 3 minutes)

4. Pour batter into pan, and place in the middle rack of the oven (upright time: about 1 minute). Step away and rest for about 50 minutes. Check in on your bread, it should be golden brown bounce back to the touch, and a toothpick inserted should come out clean. It could take up to about 10 minutes more. If you have a remote thermometer that will alarm and allow you to rest, internal temperature should be around 190 F or above, though I always recommend the toothpick test as well.

5. Let cool for at least a half an hour in the pan, then remove and slice with the bread knife (upright time: about 5 minutes). Enjoy a slice and toast your accomplishment of pacing your baking and of making something delicious!

Digest: vegetarian French onion soup

Onions have for millennia been a cheap, easy to grow food source. So, the pervasiveness of onion soup across written human history is perhaps not surprising. Two simple, affordable ingredients— onion and water— can come together to make something satisfying and delicious. Onion soups appear in ancient Roman texts and medieval cookery. But, the beloved French onion soup found on so many menus today has origins in 17th century France. Traditionally made richer with the (again cheap) protein of beef bone, French onion soup was simple fare. Recipes for the bread and cheese topping appear later, in the early 20th century. Perhaps it is the popularization of this richer version that drew the adoration of the American palate.

A good vegetarian version can be hard to replicate, often involving many steps, tricks, and extra ingredients that take the simple, rustic pleasure away in the sheer complexity of cooking.

In my own journey with severely energy-limiting chronic illness I have had to learn to pace any cooking throughout the day, starting early in the morning and doing tiny bits throughout the day. As it turns out, this process is perfect for a simple, vegetarian French onion soup.

The key ingredient in this recipe is simply, time, and a dash of forgetfulness of the soup stewing low and slow on the stove.

blue plate on black background with white ramekin containing gooey french onion soup. Beside it baby broccoli with calamondin oranges.

vegetarian French onion soup

serves two

Ingredients:

1 red onion sliced

1/2 yellow sweet onion sliced

1/2 teaspoon salt

2 teaspoons coconut aminos (or soy sauce)

1/4 cup pumpkin puree

1/2 teaspoon ghee or butter

about two cups no sodium/salt vegetarian broth (I make mine weekly from veggie scraps I save in the freezer but store bought is fine)

optional: 1 bay leaf, 1 piece star anise, 1 garlic clove, 1 teaspoon vermouth, 1/2 teaspoon five spice powder

torn crusty bread (may I recommend my gluten free lentil bread) and about 1.5 oz shredded alpine cheese per serving

Method:

  1. Melt ghee on low a medium sauce pan, add in pumpkin, the optional spices and ingredients if you are using any from that list, salt, and coconut aminos.

  2. Put a lid on your medium sauce pan and forget about it for about 10 minutes.

  3. Then, add in your onion slices. Put the lid back on and forget about it for about an hour. Check on it every 15 minutes at first to get a sense of your burner and how fast it is caramelizing.

  4. At this point the onions should have released about a half cup of liquid and smell great. Remove the star anise and bay leaf if using. Stir onions around and forget about them for another half hour to forty-five minutes.

  5. Check on them and magically you should have lots of liquid. Stir around again. Add about a cup of broth. Put that lid back on and forget again for about an hour.

  6. Check on them and you should see a viscous broth. If it is not thick, turn up the heat a hair. Add the rest of your liquid and forget about the pot for … hours… until dinner. If dinner is approaching soon, you can turn up the heat.

  7. Preheat your oven to 450F. About an hour before dinner remove the lid and pull up the heat just below a simmer. Taste and adjust salt as needed.

  8. Spoon into ramekins that are oven safe. Put in the oven for about 20 minutes without bread or cheese to warm up further and thicken.

  9. Remove, top with bread and cheese, and broil for about 2 minutes (don’t forget about them now!) until golden and bubbly.

Digest: whisky cheese crust apple pie

Growing up fall meant buying Sara Lee crumb top apple pie. We would have a big slice as dessert with vanilla bean ice cream. Then two days later, a bigger slice of the leftover would be warmed with a slice of cheddar under the broiler for what was my absolute favorite breakfast. The ice cream was nice with the pie, but I always preferred the gooey, salty contrast of the cheese.

My relationship to pie pretty much ended in 2006 when I was diagnoses with multiple food allergy. Baking a gluten-free crust always intimidated me, and all pre-made gluten-free crusts I have ever found contain ingredients I am allergic to also. I suppose my relationship to pie continued as a sense of nostalgia and longing, a sort of deep pie-shaped ache in my belly.

I brought up my love for cheesy apple pie recent conversation with my partner who surprised me by saying he had never heard of this combination. So, I felt determined to introduce him to what I recalled as a wondrous pairing. At the same time, I was fearful— was this actually strange and not at all as good as I recalled?

I turned to google. Don’t others eat this? I mean, apples and cheese are classic cheese plate fare. This lead to some interesting discoveries. Folks were eating apple pie with cheese in 17th century England. Laws in Wisconsin (1935-7) and Vermont (as recent as 199!) actually enforced pie service with cheese (a product of big dairy).

So, now, affirmed that apple pie and cheese is indeed a ‘thing’ I set out to make one. I wanted to incorporate cheese into the pie rather than lay a slice on at the end, as an easing in of my partner to this idea. I was concerned mostly with a good crust, because we all know that is what makes a good pie. I was concerned about toughness and instability. Even though my crust had no issues with gluten developing, I wanted to keep it moist and supple as possible, so I turned to the alcohol in pie crust trick. Liquid is essential to make a crust bind, but too much liquid leads to a soggy crust. Replacing some liquid with alcohol produces a unique result. The alcohol burns off quickly in the cooking process creating a crisp crust while allowing for more pliable dough while working. My gluten-free curst came out like a dream. Whisky offered not only pliability but also some delicious flavor. I turned to my most favorite local producer, Amalga Distillery, whose small batch product has a smoky richness. No surprise whisky, gouda, and apple turns out to be a perfect adult translation of my childhood memories. We ate this pie for dinner, because why not?

whisky cheese crust apple pie

Makes a single crust pie

Ingredients for the curst

  • 1 1/4 cup teff flour

  • 1/2 cup almond flour

  • 1/2 cup oat flour

  • 1/4 cup sorghum flour

  • 2 tablespoons cassava flour or fonio flour

  • 1 teaspoon sugar

  • 1/2 tsp baking powder

  • 3.5 oz cup grated Gouda (about a half cup)

  • 1 tablespoon flaxseed meal

  • 1 teaspoon coconut oil

  • 1 teaspoon vanilla

  • pinch mace (optional)

  • 2 tablespoons whisky

  • 5-7 tablespoons water to bind

Ingredients for the apple pie filling

  • about 8 medium apples of different varieties

  • 1 overripe persimmon, peeled and macerated into a liquid

  • 1 tablespoon dark brown sugar

  • 1/2 teaspoon agar powder (optional but helps texture)

  • 1 teaspoon nutmeg

  • 1/2 teaspoon salt

  • 1 tablespoon lemon juice

  • 1 teaspoon fresh grated ginger

Method:

  1. Line a pie pan with parchment.

  2. In a food processor, pulse together the flour, sugar, baking powder, grated cheese, flax, and any spices until you have an even, fine crumb.

  3. Add in the coconut oil, vanilla, and whisky. Pulse.

  4. Add in water 1 tablespoon at a time. Pulse until a loose ball forms. Don’t be too afraid of liquid, and you cannot over mix since this is gluten-free.

  5. Wrap the ball in a damp cloth in a bowl and let hydrate for at least 1 hour on the counter. This dough is easier to roll out at room temperature. Meanwhile, make filling.

  6. In a large bowl, combine the macerated persimmon, sugar, agar, salt, nutmeg, lemon, and ginger to create a slurry. Peel, core, slice your apples. Toss slices in the slurry and let sit.

  7. Preheat your oven to 400F and

  8. After at least one hour, roll out dough between two sheets of parchment. It won’t be quite as pliable as a glutinous dough, so I flip the dough from the parchment onto the pie pan rather than trying to lift it.

  9. Shape your pie dough, using wet hands and don’t be afraid to patch cracks or holes. This dough molds like clay, and you will not make it tough.

  10. Mound in your pie filling, spreading evenly. Cover completely in foil to keep heat in.

  11. Put in the center wrack of the oven. Cook for half an hour at 400F. Then, turn down temperature to 350F and cook for another 45 minutes. Check on the pie and doneness. Continue to cook for about 15 minutes more, depending on crust brownness, without foil. Turn off oven and let sit for at least 15 minutes in the oven. Let cool before serving… maybe with a little more cheese and a little more Almaga whisky!

Digest: Not-so-leftover lasagne

So, is it lasagna or lasagne? The word lasagna actually refers to the noodle itself, in the singular. Lasagne is the plural. The word lasagne also refers to the dish. Interestingly, lasagne is a non-count noun, so if you made more than one lasagne it would still be lasagne. It does not have a plural form.

Of course, America is the only country that spells the dish lasagna. Does this imply only one noodle floats in the mess of cheese, beef, tomato, cheese, cheese, and more cheese? I feel like I had some cafeteria versions of the dish that may in fact have had no noodles.

Lasagne (and yes, even though I am American, I am going to spell it with an e because I use more than one noodle) often features on tables for gatherings, which happens this time of year.

Gatherings also often lead to leftovers. Extra cans of pumpkin puree, an extra bag of green beans, those chestnuts you forgot to put in the stuffing. This dish can feature as an intentional centerpiece for those who don’t want a big hunk of roast animal on the table (though, please note that while I eat mostly plant-based, I have nothing against eating meat having grown up on a farm and being a great appreciator of the gift of wild-harvested game). Or, this dish can inventively use up leftovers.

Please, though, do not go to the grocery store if you don’t have to. This dish is meant to be flexible. Don’t have green beans? Replace with collards or Brussels sprouts. Just got canned sweet potato or leftover butternut squash puree? Sub that in for pumpkin. No chestnuts, leave them out. You can use fresh veggies or cooked veggies if you truly are digging into your leftovers. I am partial to this recipe as is, but, seriously, make it your own without going to the grocery store. Let me know how yours turns out.

Not-so-leftover lasagne

Serves 2-4 * (see note below)

Ingredients:

  • 6 Chickapea pasta gluten-free lasagne noodles (they spell it right!) or your favorite brand

  • 1 tub lowfat cottage cheese (sub in yogurt or quark, or you can leave this out if you are vegan but if you leave it out mix in 1/2 teaspoon salt to the pumpkin puree)

  • 3/4 can pumpkin puree (not pie mix)

  • 1 bag roasted chestnuts

  • 1 cup of dried mushrooms, any kind works

  • 2 cups green beans, trimmed

  • nutmeg or mace (optional)

Method:

  1. Preheat your oven to 425.

  2. Line a quickbread / loaf pan (I like this one) with a layer of foil and then a layer of parchment. This will help making getting the lasagne out easy.

  3. First put down a layer of two noodles (two noodles will overlap just a bit on the bottom of your pan). Then spread a layer of pumpkin. Crumble over a third of the chestnuts, and a third of the mushrooms. Layer green beans the long way on top. Spread a layer of cottage cheese, again about a third of the container. This is not an exact science. Grate a little nutmeg, or sprinkle mace if using.

  4. Add another layer of two noodles and repeat the steps above. This should take you close to the top of your loaf pan. Add a final layer of two noodles, a final smear of pumpkin and last dollop of cottage cheese. Reserve a few green beans and chestnuts if you like to decorate in the end. Close any excess foil overtop, or add a loose tented layer.

  5. Cook for about one hour until the house smells amazing and you can’t wait. But you should. Pull back the foil, turn the oven off and let sit for about 15-30 minutes. Again, this is not an exact science. It is lasagne.

  6. Pull out your loaf pan and slice as desired with a breadknife. The breadknife will help with a clean cut on the veggies and noodles. Serve with an herbaceous, vinegary salad, and glass of really lovely Beaujolais.


  • Note: I eat a whole half of one of these because it is mostly a warm veggie pile. But you do you.

Digest: sweet potato with savoury vegan marshmallow fluff

This time of year one sees trays of already sweet, sweet potato mixed with even more sugar, a ridiculous amount of spices to mask potato flavor and then smothered in marshmallows and butter.

This is a ‘side,’ apparently.

Can you tell I am not a fan?

I think my resentment of this dish comes not from its flavor (I mean who does not love sweet spiciness with marshmallows, or really anything with marshmallows). I think my resentment comes from what I find to be the unnecessary over-sweetening of an already magically sweet root, the covering over of its subtle umami with too many spices.

This recipe puts a twist on the nostalgic goodness of sweet potato casserole but allows the potato to have a seat at the gathering table, rather than being silenced by pumpkin pie spice blends and brown sugar. The trick is freezing the sweet potato. Yes, freezing it! I promise this extra hour of your cook time is worth it.

Why freeze a sweet potato you ask? Well, by freezing the sweet potato, you drive out some of the excess water, concentrating the sugars. You also lower the starting cook temperature of the sweet potato. This is important because the sweetness of sweet potato comes from a conversion of starches to sugars via an enzymatic reaction. This reaction happens most effectively between 135-170 F. By starting the potato frozen, your potato is at this temperature for longer. This produces more maltose which not only increases sweetness but the umami yum of sweet potato flavor.

That all sounds pretty complex. But, this recipe is super simple. Read on!

blue ceramic plate with a nest of shredded dark greens upon which rests an orange sweet potato that has a fluffy browned topping

sweet potato with savoury vegan marshmallow fluff

Serves two

Ingredients for the potato

  • two medium-large sweet potatoes (about 1lb each)

  • oil of your choosing (I love toasted pumpkin seed)

  • salt

Ingredients for the fluff:

  • 1/4 cup aquafaba

  • 1/4 teaspoon cream of tartar

  • 1/2 teaspoon garlic powder

  • 1/2 teaspoon cinnamon

  • pinch asafoetida (optional)

  • 1/4 cup water

  • 1/2 teaspoon agar powder

  • 3 tablespoons sugar

Method for potato:

  1. One to two hours before cooking, scrub and dry sweet potatoes, poke a few times with a fork, and put in the freezer.

  2. After at least one hour, preheat oven to 450. Remove potatoes from freezer, rub liberally in oil and salt. Cover in foil.

  3. Bake for one hour wrapped in foil. After one hour pull back the foil and cook for a half hour more or even longer until very soft to the touch and shriveled. Let rest.

Method for fluff:

  1. Using a standmixer or handheld mixer with whisk attachment, whisk the aquafaba and cream of tartar for about 3 minutes. Add in spices and whisk until stiff peaks form— about 3-4 minutes more.

  2. In a very small saucepan bring water and agar to a low boil. Cook for about 2 minutes. Add in sugar and cook for 2 minutes more.

  3. Working quickly, immediately pour hot syrup into the aquafaba foam. Mix with the mixer until shiny, about 30 seconds to one minute. The agar will start to set, so this step should not be dallied over.

  4. Slit open the potatoes. Dollop your fluff onto the potatoes. And, then using a small blow torch (or a really big one if you have one— I am kidding do not use a plumber’s torch) caramelize the sugars. Serve with a pile of greens (collards pictured) and some sparkling rose.

Digest: Rest

A recipe for rest in the desert

Experiencing true rest is illusive. We are propelled to produce, move forward, make for a pay check, for culturally sanctioned affirmation, because the only answer to the question “How are you?” seems to be “Busy.” But, rest is an essential need and a deep pleasure. Indeed, physiologically, to digest we need to rest. Yet, we are not taught how to; we are only educated in output and production. Recent substantial changes in my health have meant that I must learn rest in ways that feel vastly unfamiliar to me. In order to change pace, to learn to stop, to restore, to not-do, I needed to step out of the routines and pulls of my daily life in Alaska, and find retreat. How can we step back and get distance from the hustle we each perpetuate?

Years ago in the early stages of this health journey one of my doctors had half-jokingly recommended, “You should move to Arizona.” I am not sure why he said that exactly, perhaps something about warmth, dry air. Whatever the reason, when deciding where to try to find retreat, this came to mind. And, before too long, a few weeks were planned in Tuscon. Now, I have always thought of myself as a mountain person, less fond of sand. But Tuscon fills a need for elevation in more ways than one. With mountains on all sides, the city is nestled, surrounded by vast landscapes and covered with creamy, surreal blue skies. The moment I touched down, my spirit was already lifted up.

I went to Arizona with the intention to intentionally not do anything. I wanted to be able to answer the question “What did you do on your trip?” with an honest “I rested.” But how? What are the ingredients needed for rest?

For me, it is a place that makes me feel comfortable: a landscape that sparks wonder, accommodations that hold my body with care. I came into the trip with a body fragile, tender, and in desperate need of care. I could not imagine a more care-filled place to place myself with ease than the Tuscon Luxury Retreat.

Every tiny detail tended to, creatively and with inspiration. Beautiful oil paintings on the walls each have a story to tell. A myriad of couches to select from for the extended rests my body calls for. A pool and hot tub with clear views of the unbearably clear blue sky. And, of course, the kitchen: a sumptuous chef’s dream outfitted with sharp knives, superb appliances, and a farmhouse sink. Outside the landscape of the 1.2 acre plot is covered with local plants- saguaro at least 80 years old, a flowering eucalyptus, agave, scented lantana, palo verde, as well as fruiting citrus trees. Resting, I watched as hummingbirds flit across the sky at dusk like gems against the burning sherbert sunset. I am no longer able to go on hikes, but a daily wander on the grounds healed my soul in some deep way as I connected with plants far older and wiser than I.

The air here is quiet, filled with the sounds of plants and birds and insects, not people. For the first time in weeks, I felt well enough to play music. I set up one room for flute and vocal improvisations. Rather than trying to compose anything complete, I allowed for resting in the sound and its fullness.

The retreat of this place offered easy access, despite my mobility issues, to drive through park experiences, at the Saguaro National Park where I made dozens of new plant friends— who I hope to return to see blooming in spring. My body permitted a few small but profoundly gratifying adventures to abundant farmer’s markets. No wonder that Tuscon is a UNESCO City of Gastronomy. Fine locally roasted coffee was a skip away at Le Buzz, scrumptious local chocolate available at Monsoon, and astoundingly wonderful local wine available at the Arizona Wine Collective.

Perhaps the most nourishing ingredient was the sky, which at all times never ceased to take my breath away.

So, many ingredients for resting. The method then, was learning to be. Instead of measuring my trip by how many hikes I did or miles I biked (though those are abundant for the able-bodied), I took stock each day of how I inhaled, and exhaled the mineral-rich air. I relished the amount of time I could just deeply appreciate place by being, rather than trying to conquer by doing.

Perhaps that is the ‘method’ for cooking up rest: find a truly comfortable place and notice its details, just from where you are.

But, then.. there is food, too. I know you came here for a recipe!

My body needs nourishment on so many levels, and I turned to a favorite recipe I have shared variations of before. Pizza fills some sort of specific craving for feeling full-up, beyond belly but in spirit. So, here is a reprise on a favorite, this time for two. This process eliminates the baking powder and allows for resting the crust batter to create a bit of bubbling. Pumpkin puree offers a surprisingly easy and satisfying tomato alternative, perfect for fall, or holiday leftovers.

sprouted quinoa crust pizzette

Ingredients

For the crust

  • 1 cup quinoa, soaked for 24-36 hours

  • 1/3 cup water

  • 1 tsp salt

  • 1 inch peeled ginger

  • 2 garlic cloves

  • oil

For the toppings

  • 1 cup pumpkin puree (unspiced)

  • 6 oz smoked mozzarella cheese

  • 1/2 red onion finely sliced

  • 1/3 cup fresh cranberries

  • fresh basil

Method

  1. 8 hours before cooking, blend all crust ingredients in a food processor or blender until a consistent puree. You will think this is too thin to be a crust. This is just right. Let it rest out in a warm spot, as fermentation will begin (a sour smell is ok) and you will not need baking powder. Though, if you do not have time, you can add a teaspoon instead of fermenting

  2. Preheat oven to 350F. Put a piece of parchment on a baking sheet and spray or spread a little oil. Warm this in the oven while it preheats.

  3. Using a spatula spread crust batter onto warmed baking sheet at about a 1/4 to a 1/3 inch thickness in the shape you desire. This is not an exact science, but make sure there are no thin or weak spots.

  4. Put into oven for about 30 minutes, until browning and firm, or longer depending on how crusty you want your crust.

  5. Turn the oven up to 425F. First spread the pumpkin puree down. Add the onion slices and torn knobs of smoked mozzarella evenly across the surface, sprinkling on cranberries. Let cook for 5-10 minutes until the cheese begins to brown and bubble. Add the basil just before finishing so that it does not burn. Keep close watch to avoid blackening.

  6. Let rest for 2-3 minutes. Slice, and enjoy with a side of broccoli rabe and hearty red wine like one from Golden Rule vineyards.

Digest: eggplant ice cream with lemon, fennel, basil pizzelle

I have been on a vegetable ice cream bent. I became fascinated by the potential of pulling forward vegetable sugars without much additional sweetener, developing a recipe for cabbage ice cream for Edible Alaska. And, then, I was off to the races. Riffs have included a green cabbage and mint ice cream, sorrel ice cream, smoked snow apple turnip ice cream, and more. When I have ice cream, I like it to melt a bit, and to have a balance of something crispy. Due to my allergies, commercial ice cream cones are out of bounds, so I made pizzelle, a crispy, waffle cone-like cookie. I made nettle pizzelle for Edible Alaska, but wanted other flavors to pair with my dreamy vision for eggplant ice cream. I knew eggplant would lend earthy umami against the cream of mascarpone, and I wanted something herbaceous and tart to pair. Hence the recipes below; enjoy.

one cup mason jar of beige eggpland ice cream with crispy eggplant skin chip roasted red pear slices cream cookies with texture and a basil leaf pressed into them on a green plate resting on black tablecloth

Lemon, fennel, basil pizzelle

Makes 12

ingredients

dry

  • 1 cup gluten free flour

  • 2 tablespoons powdered sugar

  • 1 teaspoon fennel powder

  • ¼ teaspoon salt

  • ¼ teaspoon baking powder

  • zest of one lemon

wet

  • 2 tablespoons aquafaba (chickpea cooking liquid, or the liquid from 1 can chickpeas)

  • juice of one lemon plus water to make one cup of liquid

  • 1 tablespoon flaxseed meal

also

  • Basil leaves for garnish

method

Preheat your pizzelle maker, spraying with a neutral oil. Preheat oven to 250° F.

In a large bowl, whisk together dry ingredients. In a smaller bowl, whisk together wet. Add wet to dry and combine.

Pour rounded tablespoonfuls of batter onto each pizzelle iron. Place a basil leave in the center and press the lid firmly. Cook for approximately 2-4 minutes until relatively crisp.

Put cooked pizzelles onto a baking sheet and bake in the oven to bring to desired crispness.

Eggplant mascarpone ice cream with candied skins

ingredients

2 large Italian eggplants cut in half

1 8oz tub of mascarpone

2 tablespoons gin (optional, helps with texture)

seeds scraped from 1 vanilla bean (or 1 teaspoon extract)

1/2 teaspoon salt

2 1/2 tablespoons honey

oil, salt, and granulated sugar for skins

method:

The day before making, chill your ice cream maker bowl.

Roast eggplant for approximately 40 minutes in a 400° F oven until the tops cave in slightly. Pull out and let cool. Bring oven temperature down to 300° F.

Scrape the flesh into a high powered blender, reserving the skins. It is ok if the tear while you scrape.

Add in all the gin, honey, salt, mascarpone, vanilla and blend until completely smooth. Taste and adjust for sweetness by adding more honey one half teaspoon at a time. Chill the base for at least 2 hours in the fridge.

Meanwhile, make the skins. Spread the skins on a parchment lined baking sheet, spray lightly with oil and sprinkle with sugar and salt. Attentively watch them until they are just crisp. Taste (watch out you will eat them all!)

Churn according to your appliance’s instructions. Put ice cream in container and let freeze at least 2 hours. Allow to rest in fridge for 20—40 minutes before consuming to avoid iciness. Serve with pizzelle, a little more honey, some roasted fruits.

Rose and mushroom cake with watercress and sweet potato frosting

A dearest dear buddy was married to her love today. Due to my chronic illness, I was unable to travel to join, so I wanted to find a way to mark her day and celebrate from afar (Alaska to NYC!). I worked with her in advance to design a cake including flavors she loves, and some I do, too. This recipe brings together complex savoury and sweet flavours. Each bite is at once satisfying, comforting, and completely unique, and the whole concoction is full of humor and smart. Just like my friend. The inspired use of mushrooms add umami, but also an incredible texture so that the cake is at like a lofted sponge. The floral element of rose adds a surprising aromatic quality that pairs with the spice and sweet of the frosting. A slice of this cake that is nutritious and divine treat. Again, adapted from my recipe over on Edible Alaska for sorrel cake and other variations of my own.

For the cake (makes 2 six inch cakes):

  • 1½ tablespoons apple cider vinegar

  • 8 oz oyster mushrooms

  • ½ cup neutral oil

  • ¼ cup aquafaba

  • 2 tablespoons vanilla extract

  • 1 cup granulated sugar

  • 3 cups gluten free flour

  • 4 tablespoons rose powder

  • 1/2 teaspoon mace

  • 1 tablespoon baking powder

  • 1 teaspoon baking soda

  • 1½ teaspoons salt

  • 1 ½ cups oat milk

  • watercress frosting (recipe follows), pint blueberries, rose petals, and mushrooms for assembly

Method

  1. Line four 6 inch cake pans in parchment. Preheat oven to 350F.

  2. In a bowl combine flour, rose powder, mace, baking soda and powder, salt. Whisk well.

  3. In a high powered blender, blend together the vinegar, mushroom, oil, aquafaba, vanilla, and sugar until smooth.

  4. Add the dill blend to the dry ingredients. Slowly add in milk, one half cup at a time. Mix until well-combined.

  5. Pour into pans and bake for 30 minutes or until a cake tester comes out clean. Let cool completely before frosting (below) and decorating to your taste.

For the frosting

  • 1 Japanese sweet potato

  • 1 cup packed watercress

  • 1 tablespoon agave

  • pinch salt

Method

  1. Microwave sweet potato for 7 minutes until fully softened and let cool. Scrape out the creamy filling.

  2. Using an immersion blender or in a cuisinart, blend all ingredients until smooth. Add more agave to taste.

Digest: simple nettle soup

This soup brings forth the herbaceous flavor of nettle. Be sure to wear gloves when de-stemming the nettle, but reserve stems to dehydrate and powder for tea or adding to omelets or cookies. If you don’t have nettle, it can be replaced with any other green like more spinach, or arugula, chard, or watercress. I served mine with some grated lemon zest and parmesan crusted purple sweet potato skins.

Ingredients

  • 2 cloves garlic

  • 1 & 1/2 cup chopped white cauliflower

  • 1 tomatillo (optional)

  • 1/2 teaspoon salt

  • 3 cups veggie broth

  • 1 tablespoon vermouth (optional)

  • 2 cups spinach stems

  • 2 cups nettle leaf

  • 10 mint leaves (optional)

Method

  1. Put garlic, broth, cauliflower, tomatillo, salt, & vermouth in a pot. Bring to a boil. Cover and simmer for 20 minutes.

  2. Add in spinach stems, mint leaves, and nettle. Cover and let wilt, about 7 minutes.

  3. Blend thoroughly in a blender. Taste and add more water to thin and/or salt to taste. Return to pot to keep warm until ready to serve.

Digest: Black walnut sprucetip and cara cara orange shortbread

Black walnuts are one of my most favorite flavors— floral and earthy all at once they capture a sense of the South where I grew up. I had a black walnut tree in my yard as a child, but we never were able to get through the tough shells. I only recently learned about the laborious process of harvest. Really the only black walnuts available come from the fabulous Hammons whose unique operation really is unbelievable to learn about. I think black walnut lends itself particularly well to savory sweets, like shortbread. But, you know by now I like all my sweets savory. I adapted this recipe from my wormwood shortbread recipe on Edible Alaska. If you are not a black walnut fan, almond flour can easily be substituted into this recipe instead of the black walnut protein.

Ingredients

  • 1/2 cup black walnut protein

  • 1 1/2 cup gluten free flour blend

  • 1 teaspoon salt

  • 2/3 cup sugar

  • zest of 4 cara cara oranges

  • 1/2 cup spruce tips

  • 14 tablespoons cold butter

Method

  1. Preheat oven to 325. Line six 4 inch spring form pans with parchment or one 8 inch pan.

  2. In a food processor, pulse together the tips, sugar, salt, and zest. Add in protein and flours. Pulse until well combined.

  3. Add in butter and pulse until granular. You may see some small butter chunks, that is just fine.

  4. Press the dough into the molds using the back of a spoon.

  5. Bake for 20-27 minutes until the shortbreads begin to lightly brown and pull away from the forms. Remove from the oven and let cool completely before unmolding.

Noni SeaSnax cookies

Here is the satisfaction for your umami cookie craving. This recipe is tender, satisfying, and will surprise with absolute delight at the intensity of delicious flavors.

Makes 8 cookies

Ingredients

  • 1 & 1/4 cups gluten free flour blend (I used 1/2 cup green banana flour , 1/2 cup coconut flour, 1/4 cup sorghum flour)

  • 2 Tablespoons noni powder

  • 1 Tablespoon nutritional yeast

  • 1 teaspoon cream of tartar

  • 1/2 teaspoon baking soda

  • 1/2 teaspoon salt

  • 1/2 & 1/8 cup granulated sugar

  • 4 Tablespoons (vegan) butter

  • 4 Tablespoons (vegan) cream cheese (I like Miyokos)

  • 4 Tablespoons aquafaba

  • 1 Tablespoon vermouth (optional)

  • 1 packet lime SeaSnax cut into flakes

  • 1/2 cup (vegan) white and dark chocolate roughly chopped

  • crushed freeze dried mango for rolling

Method:

  1. Whisk together flour, salt, noni, nutritional yeast, cream of tartar, baking soda.

  2. In a medium bowl, beat together butter, cream cheese, sugar until light and fluffy. Add in aquafaba and beat for another 4 minutes. Add in vermouth if using.

  3. With mixer off, add in flour mixture. Turn on mixer and accelerate speed until well combined. If the mix is too thick to beat, add another 1-3 tablespoons of water or vermouth if using. Add in SeaSnax and chocolate.

  4. Chill in a bowl for at least 1 hour. Remove and make 3 oz balls. Roll in crushed freeze dried mango.

  5. Freeze balls on parchment for 4-5 hours or until ready to cook.

  6. When ready to bake, preheat oven to 325F. Place cookies on parchment lined baking sheet with plenty of space between. Cook for 8 minutes. Remove from oven and bang on the counter so they spread or lightly press with a spatula.

  7. Cook for another 6-8 minutes. Turn off oven and let rest for 2-3 minutes in oven. Remove and let rest for 6-8 minutes on baking sheet. Enjoy!

Digest: Artichoke pasta bake

Here in Alaska winds are high, temps are low. Nothing like a steaming personal baked pasta to make one feel warm and complete in tempestuous times. This vegan simple pasta bake is made from pantry staples, so you don’t even have to go outside to the store. I am not vegan, in fact I eat meat, but I like to experiment with plant-based approaches for flavor, texture, and to give my guts a break from cheese (which I adore).

Serves 2

Ingredients:

  • 1 box chickapea pasta elbows

  • 1 can quartered artichoke hearts, strained, liquid reserved

  • 2 cloves garlic

  • 1/2 cup chopped leek (green or white part ok)

  • 1 TBS nutritional yeast

  • 1/2 tsp nutmeg (optional)

  • 1 TBS vegan cream cheese (optional)

  • 1 TBS chickpea flour (suggested, but you can also omit)

  • Dash vermouth (again, totally optional)

  • Salt for pasta water (and to add to taste but the artichokes already have salt)

  • Note: you will need to reserve 1/4 c pasta water

  • Oil

Method:

  1. Preheat oven to 425F. In an oven safe dish, put leek, garlic, reserved artichoke water, and vermouth if using. Put the dish in the oven as it warms up. Most of the liquid, if not all, should evaporate.

  2. Meanwhile, prepare two ramekins with a little oil to prevent sticking.

  3. Make pasta. Cook in heavily salted water for 3 minutes until rather al dente but not hard. Reserve 1/4 c pasta water. Rinse immediately in cold water and set aside.

  4. Using an immersion blender, blend together pasta water, artichoke hearts, softened leek and garlic, nutritional yeast, flour, and nutmeg, and cream cheese if using. The result should be smooth, creamy, delicious sauce. Adjust for salt if needed and keep yourself from eating it by the spoonful now.

  5. Mix the sauce into the pasta in a large bowl. Scoop into your prepared ramekins (on a baking sheet).

  6. Cook for 15-25 minutes on bottom rack covered in foil depending on how crusty you want the edges. Remove foil and cook for another 15-20 minutes, brushing with oil in the last ten minutes.

  7. Remove from oven and let cool, if you can stand it. Top with smoked paprika, pomegranate, and olive if you like (and as shown here).

Digest: Revisionist impossible quiche

I never follow recipes. Never. I am in a constant process of experimentation in the kitchen. But, I do revisit ideas and preparations relatively frequently. I recently revisited a recipe I developed for Edible Alaska, inspired by old grocery receipts. Inspired by Sandor Katz, I decided to ferment my batter… to powerful result.

Serves 2

Ingredients:

  • 1 cup garbanzo bean flour + 3 TBS, divided

  • A pinch Kala namak, or black salt (optional)

  • ½ tsp salt

  • 1 TBS nutritional yeast

  • 1 tsp baking powder (optional)

  • ½ tsp dried herb like basil or oregano

  • dash of nutmeg or mace

  • 1 cup water + 1/4 cup, divided

  • ½ cup kefir or 2 TBS yogurt thinned with 1/2 cup water

  • ½ cup finely chopped white and light green parts of leek

  • 1/2 cup other dry veggie like broccoli, asparagus, or as shown here, devil’s club buds

Method:

  1. Begin 3 days in advance of dining. Mix together bean flour, 1 cup water, and regular salt. Cover with a papertowel and sit on counter for 3 days, stirring every day 2-3 times. The batter will poof and start to smell sour (this is good!).

  2. On the day of dining, preheat oven to 350F. Grease two four-inch spring form pans and line with parchment.

  3. Whisk into fermented mixture the remaining flour, water, and kefir. Add in black salt, herb, spice, nutritional yeast, and baking powder. Let sit for 5 minutes.

  4. Load pans with leek and veggies. Divide batter over top.

  5. Bake for about 40 minutes until browned on edges and center does not spring back but is not jiggly (you want soft, egg-like gooey texture, or I do. You can cook for 5 minutes longer for firmer).

  6. Let rest 5 minutes. Unmold and serve with a bright salad.


Digest: Pumpkin centerpiece for one

Sometimes feasting is small. A celebration for one, or two. Sometimes these celebrations are the most wonderful. This recipe embodies that intimate spirit for whatever fall or winter occasion.

Serves 1 or two

Ingredients:

For smoked pumpkin

  • one small sugar pumpkin, sliced in half, insides removed (think the size of a salad plate)

  • handful woodchips or steel cut oats

  • wok with lid

  • aluminum foil

    For glaze

  • 3 TBS maple syrup

  • 3 TBS coconut aminos or soy sauce

  • 2 tsp sumac (I get mine from Curio Spice; this is optional)

  • 1 TBS ghee or oil

  • Salt to taste

    For decoration

  • pomegranate seeds

  • dried pineapple

    For green sauce

  • 1/2 cup rough chopped dill

  • 1/2 cup rough chopped cilantro

  • 1 clove garlic

  • 1 TBS red wine vinegar

  • 1 tsp date sugar

    For the stuffing:

  • one head of purple raddichio

Method

  1. Smoke pumpkin: Cut cross hatches across the skin of your pumpkin to open up vents for sauce and smoke. Line your wok with aluminum foil. Add small handful of smoking wood chips (maple are nice) or oats. Read more about this process here. Turn on extractor fan (don’t miss this step.. maybe open a window). Arrange a coil of foil or use a metal grate to lift both pumpkin off chips. Arrange pumpkin and close lid and put wok to high. Once smoke begins to be evident through lid set a timer for 7 minutes and turn heat to medium. After 7 minutes remove wok from heat and let rest for 10 minutes. Be aware when you lift the lid smoke will come out.

  2. Preheat oven to 400. Rub pumpkin with ghee or oil, sprinkle with salt. Half raddichio and put one half in each side of pumpkin. Put on baking sheet (I like to line with parchment for easy clean up) on medium rack of oven.

  3. Meanwhile, prepare glaze: combine all ingredients and whisk well together. If the glaze looks thin, microwave for 30 seconds to begin to caramelize sugars. Periodically brush the pumpkin as it roasts with the glaze until the pumpkin is soft. Approximately 40 minutes.

  4. As the pumpkin cooks, prepare green sauce: In a small food processor or by hand, finely chop herbs and garlic. Whiz in the vinegar and sugar and spoon on to plates.

  5. Place steaming pumpkin on plate. Decorate with pineapple and pomegranate seeds.

  6. Carve for yourself to profound delight. Extra glaze? Use as a dipping sauce. You won’t regret it.

Digest: Fermented Chickpea 'Tofu'

Fermentation is, for me, perhaps the most magical transformative process of cooking. Perhaps that is because it is a process that really does not involve the cook. A concoction is just left alone, and them with time as the chef, it becomes something other than it was. The many metaphors and metaphysics of this process have been lovingly explored by Sandor Katz a culinary food hero of mine. I suppose I think about how this metaphor extends to sound and music, another time-based art (like I would argue cooking is). By playing holding a note for a long time, it becomes something other than it was in quarter. By listening persistently to apparent silence, it transforms. Anyways, enough philosophy! This recipe comes out of curiosity— what happens if I just let this batter sit. Well, the result is incredibly savory, delicious and profoundly nuanced in texture and flavor.

Chickpea tofu here with fennel powder, vegan creamy white garlic sauce, raddichio, carrot, red yuzu cucumber, black garlic turnip, pickled onion and pepper, seaweed, crisp peas, mango, and nigella seed

Serves 2

Ingredients:

  • 1 cup chickpea flour

  • 1 3/4 cup + 2 TBS lukewarm water, divided

  • 1/2 tsp salt

  • any other herb or mix in

Method:

  1. Thoroughly whisk together all ingredients with 1 3/4 cup water (or use an immersion blender). Put batter in a container with a cloth rubber-banded on top to protect it from pests or dust.

  2. Let batter sit for 2-3 days, occasionally whisking the batter. It should change color to be lighter, develop bubbles, and smell picante.

  3. When ready to use, whisk in remaining 2 TBS water.

  4. Pour into a saucepan on medium-low heat, stirring constantly, until the batter becomes thick, shiny, and when tasted does not taste like raw flour.

  5. Pour batter into a mold. I like a small 5 X 8” pyrex, but any shape will work. Line with parchment to prevent sticking if you are not using glass.

  6. Let tofu sit for 1 hour in fridge until set. Drain any excess water. Now it can be used raw, fried, or baked.

  7. My preferred method crisps the edges and leaves the inside gooey: Preheat oven to 400F. Grease a parchment lined sheet pan lightly with oil. Put cubes of tofu onto hot pan, and roast, tossing to ensure all sides are browned.